Creating Smart Suite Users
Adding a New User Account and Assigning ATMS Roles
When creating a user account, the Oracle user log in name, an associated Oracle password, and a COG are all required entries. A messaging ID for a person can optionally be assigned.
HINT: When an LOV (List of Values) is available for a field, the note “<F3> for a list” displays in the status bar when the cursor is placed in the field. The list of values can be displayed by pressing <F3>, and a value can be selected from the list. The field is populated with the selected value.
The user name is used as a log in name for Smart Center and Smart Console, and displays in some Smart Center forms:
• In the Listings form, the user name displays when the user changes the status for a person or a function.
• In the Send Message to Users form, the user names of the users currently logged in display in a list of available recipients. A message can be sent to anyone in this list.
NOTE: The user name must not contain the following: _ARCHIVE. This phrase is used by the system when the Allow View of Archive Data option is selected to enable the user to access the archive database schema when logging into Smart Center. For example, a user name of ADMIN_ARCHIVE should not be used.
The ATMS_OPERATOR role is assigned to every user account by default. This role is automatically assigned when the user account record is saved. The ATMS_OPERATOR role gives the user who uses this account the lowest privilege level. Other ATMS roles can be assigned as needed.
NOTE: A user must be assigned the role of ATMS_ADMIN or ATMS_SUPER_ADMIN to be able to make changes and additions in the Users form.
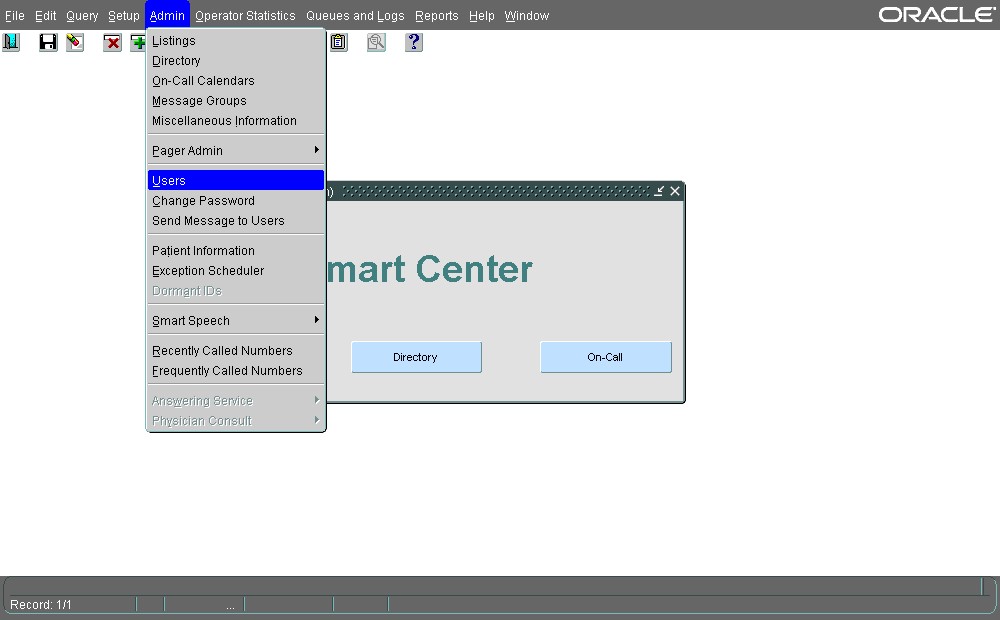
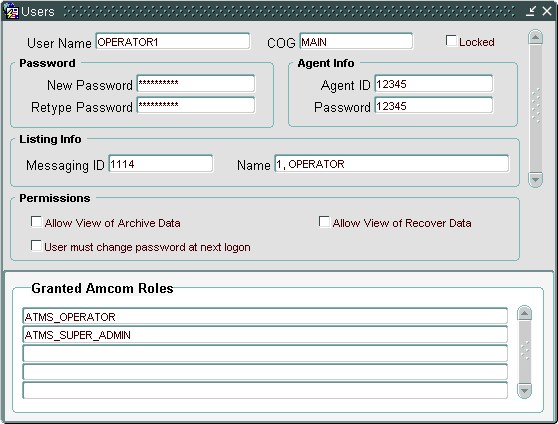
1. Choose AdminàUsers. The Users form displays.
2. Press <Esc> to change from query mode to data entry mode. As an alternative, press <Enter> to query for existing records, then press <F6> or click the Insert a New Record button on the top tool bar to add a new record.
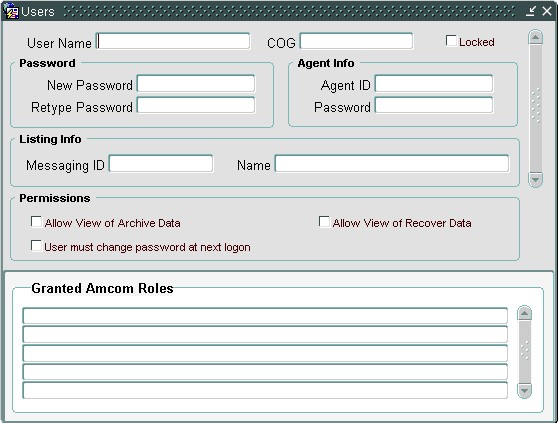
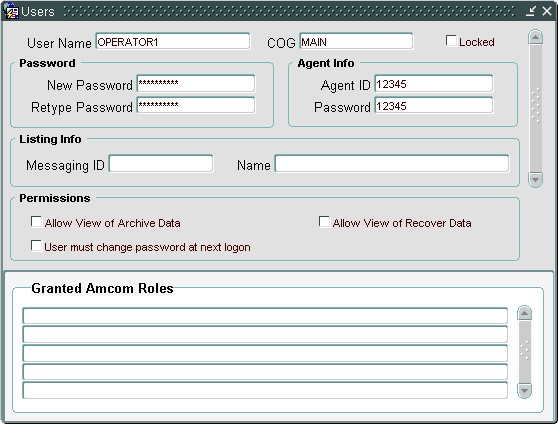
3. Enter a unique alphanumeric user name in the User Name field. The name must begin with a letter. The form forces capitalized letters. If the entry is not unique, you are not allowed to save the record.
4. In the COG field, specify the operator group with which user name is associated. Specifying a COG is required. If your organization does not use COGs, the default COG is assigned by default.
5. In the New Password field, enter a password for the user. Asterisks display as the password is entered.
NOTE: If your environment requires Oracle password complexity, the password must meet the following specifications to be valid:
• At least 10 characters in length. Spaces are not allowed.
• Use 2 lower-case letters
• Use 2 special characters. These characters cannot be used:
/ : @ & “ , . { } \ ^ [ ] | ~
• Use 2 digits
• Use 2 upper-case letters
• Characters cannot be repeated sequentially. For example, the password cannot contain the string “aa”, “33”, or “JJ”.
6. Retype the same password in the Retype Password field to verify the password originally entered. Asterisks display as the password is entered. If the entries in this field and the New Password field do not match, you are not allowed to save the record.
7. In the Agent Info section, enter the user name used to automatically log in to an ACD group in Agent ID field, and enter the associated password in the Password field. Entries in these fields are not required.
NOTE: This section applies only to CT-Connect users. Entries are ignored for any other type of phone.
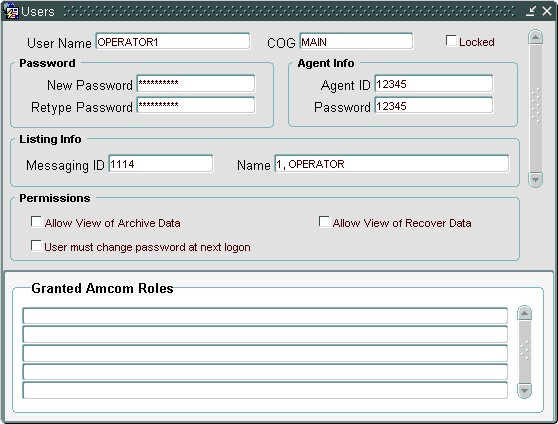
8. In the Messaging ID or Name field, use the LOV feature to specify the ID and name of the user associated with this user name. The Messaging ID and Name fields are populated when a name is selected.
9. Select the Allow View of Archive Data option if the user associated with the user account should be allowed access to the archive database.
10. Select the Allow View of Recover Data option if the user associated with the user account should be allowed access to the recover database.
NOTE: For more information please see the Data Retention Knowledge Article
11. Select the User must change password at next logon option if the user should be forced to change his or her password the next time the user logs into Smart Center or Smart Console.
12. Click the Save Changes button or press <F8> to save the record before proceeding to the Step 13.
13. In the Granted Amcom Roles section, you can use the LOV feature to specify the roles for the user. At least one role must be specified. The role(s) that you grant is associated with the user name and determines the tasks that can be performed by the individual using that user name. More than one role can be assigned. For information about the roles, please refer to Working with the ATMS Roles.
NOTE: If you don’t specify an ATMS role, the ATMS_OPERATOR role is automatically assigned when the record is saved.
14. Click the Save Changes button or press <F8> to save the record.
Video Tutorial
Related Defects:
N/A