Installing Spok CTI
Overview
This article will show the basics of Installing Spok CTI on a workstation
Before Installing
- Make sure that the Windows user installing Smart Console has local administrative privileges
- Put all install files on the local disk of the computer where Spok CTI is being installed
- Be sure to use the same Windows operating system that Smart Console and Spok CTI was originally setup to use
Installing
Note: The example install was done using Spok CTI version 6.1.6.161, although the basics of this article will apply to previous versions of CTI
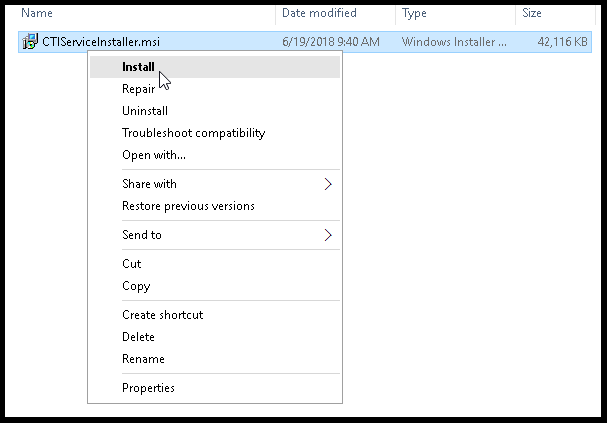
- Right click CTIServiceInstaller.msi and click Install
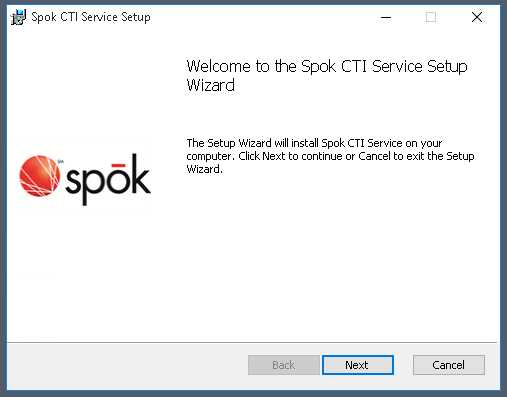
- At the welcome window, click Next
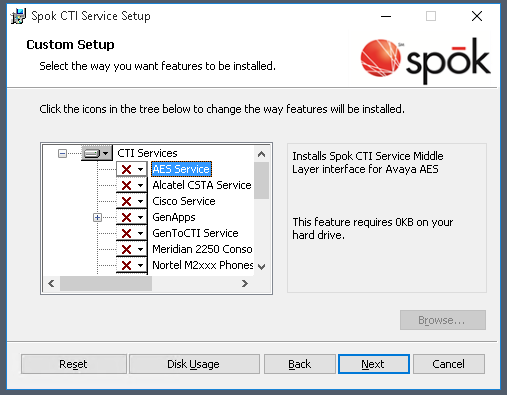
- At the Custom Setup window, choose the type of phones that are being used. Click on the red X next to the one needed and choose Will be installed on local hard drive. A list of possible selections are at the end of the article.
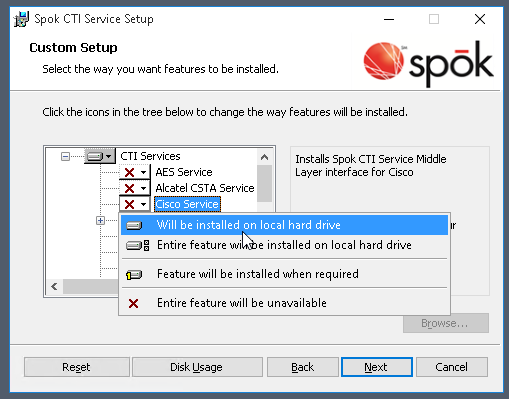
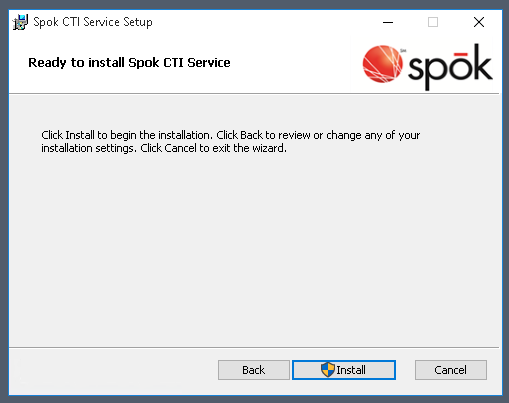
- Once the correct CTI service is selected, click Next and then at the Ready to install window, click Install
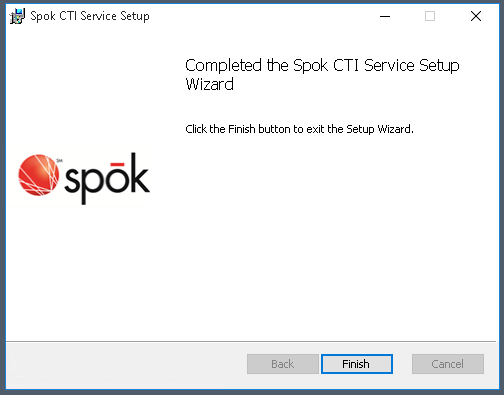
- If the install completed successfully, the following window should display. After clicking Finish, Spok CTI can then be configured.
Spok CTI Feature List
- AES Service (Avaya)
- Alcatel CSTA Service
- Cisco Service
- GenApps
- GenCCT 6.0
- GenCCT 6.2
- GenCCT 7.0
- GenMiTai 4.0
- GenMiTai 5.0
- GenBridge
- GenToCTI Service
- Meridian 2250 Console Service
- Nortel M2xxx Phones (MCA) Service
- SNOM Service
- TAPI Service Provider (TSPs)
- ISDN 8520 Phone TSP
- Lucent i2022 Phone TSP
- Tone Commander Phone TSP
- Meridian SL1 Services Attendant Console TSP (BOSS)
- Meridian 39xx Phone TSP
- Meridian 2216 Phone TSP
- Meridian 2250 Console TSP
- Dees CSI-380 TSP (M5316)
- Siemens ROLM 9005 Phone TSP
- Meridian SL1 2616 Phone TSP
KB49497