Adding and Managing Device Groups
Administrators can manage settings for multiple devices at once by using device groups. By creating a device group and adding devices to it, an administrator can distribute setting changes automatically, overriding the preferences set by individual device users. For example, if you would like a group of devices that at your site to all use the same alert tone, you can add the devices to a device group in the Enterprise Administration interface, then change the alert tone for every device in the group.
Best Practices for Distributing Settings Changes
Spok recommends that you use device groups, regardless of which Spok Mobile implementation you have deployed. Device groups are extremely important because they minimize system traffic when you distribute setting changes to multiple devices. Spok recommends the following best practices:
- Device groups should contain 300 or fewer devices.
- Changes should be distributed to one device group at a time.
- When distributing settings changes to multiple groups, wait at least 20 minutes before pushing a settings change to another group.
Configuring the Default Device Group
Spok Enterprise automatically includes a default device group, which cannot be deleted. When users are registered in the system, they will automatically be added to this group. Any new devices which are registered with this group will inherit the default preferences from the group.
You can remove devices from the default device group and add them to new groups that you create. The devices will then inherit the new settings configuration from their new group. If the system is upgraded to a newer version of Spok Mobile, all device groups and their lists of associated devices will be migrated to the new version.
Before you configure the default group, click Save to ensure that the feature functions properly.
-
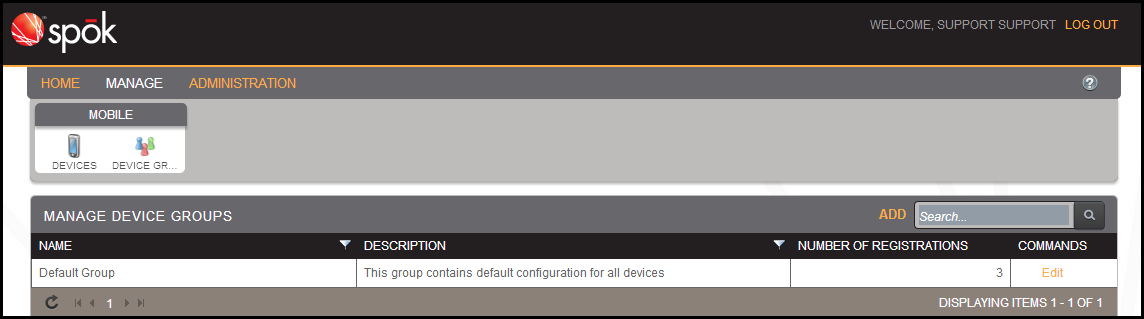
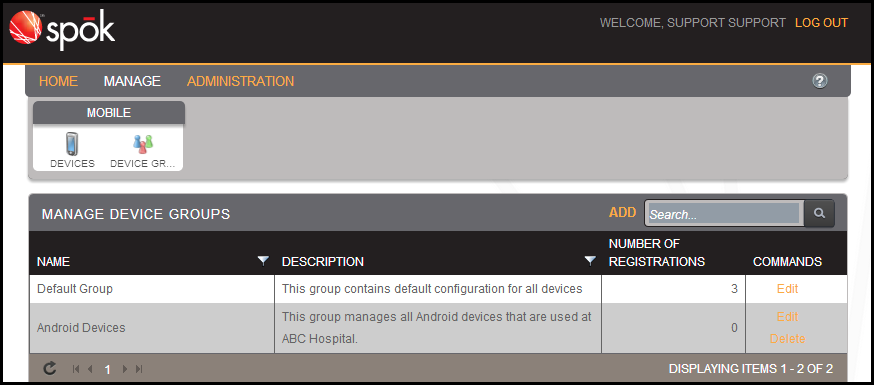
In the Spok Enterprise Administration web interface, navigate to the Manage > Mobile > Device Groups menu option to view the Manage Device Groups table. The Manage Device Groups table can be refreshed, searched, rearranged, and reordered. For more information on using the features of the device group table, please refer to Getting Started.

-
Click the Edit link in the Default Group row. The Edit Device Group Default Group screen will appear.

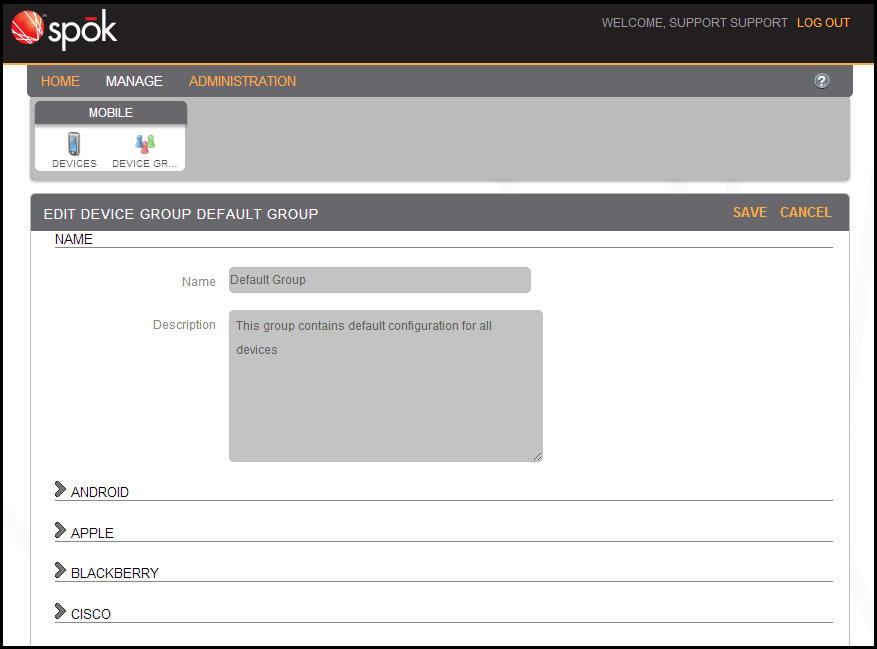
-
Configure the device settings for the default device group. For detailed information on how to configure device settings, please refer to Adding and Managing Device Groups.
-
Click the Save button to save your changes.
Creating a Device Group
Administrators can create new device groups to manage device settings with greater flexibility.
-
In the Spok Enterprise Administration interface, navigate to the Manage > Mobile > Device Groups menu option to view the Manage Device Groups table.
-
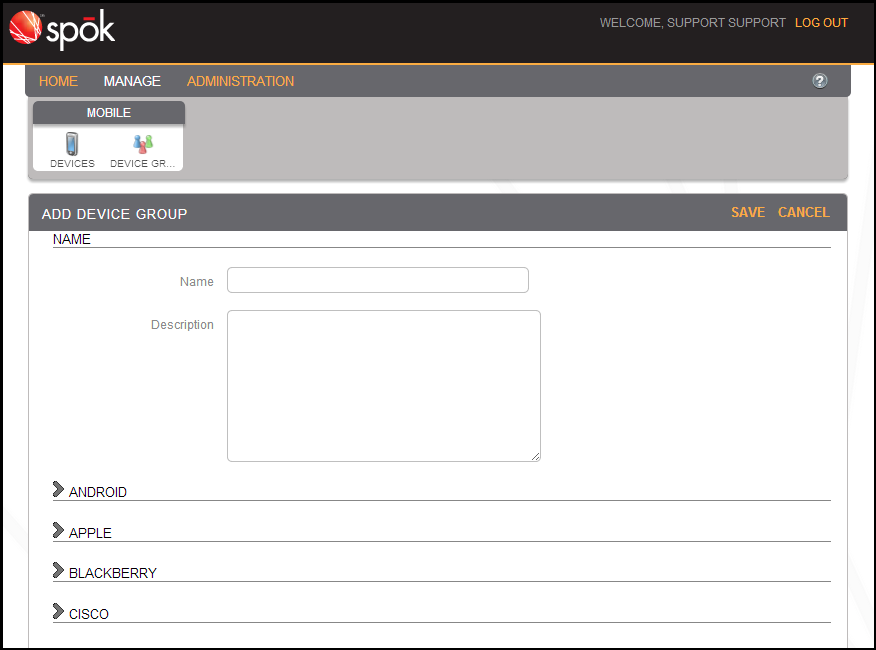
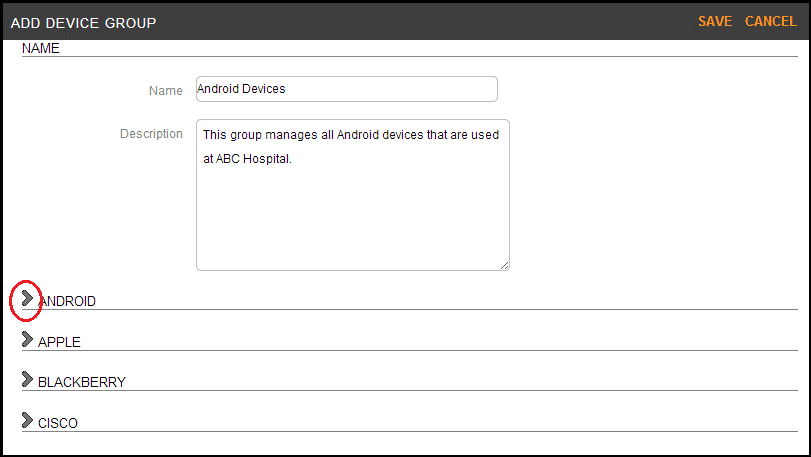
Click the Add link next to the search box. The Add Device Group screen will appear.

-
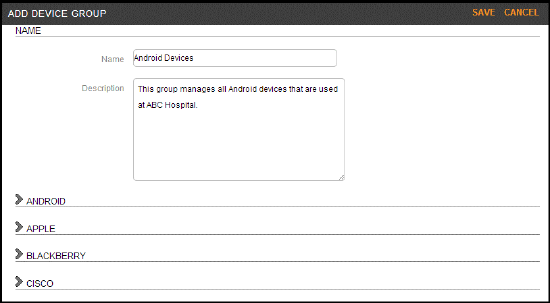
In the Name field, enter a name for the new device group.
-
In the Description field, enter a description for the new device group.
-
Below the Description field, click on the arrow next to any device type to expand the list of settings which can be configured for that device type.
-
When you are finished configuring this device group, click Save to save your changes.
Editing a Device Group
Existing device groups can be edited.
-
In the Spok Enterprise Administration interface, navigate to the Manage > Mobile > Device Groups menu option to view the Manage Device Groups table.
-
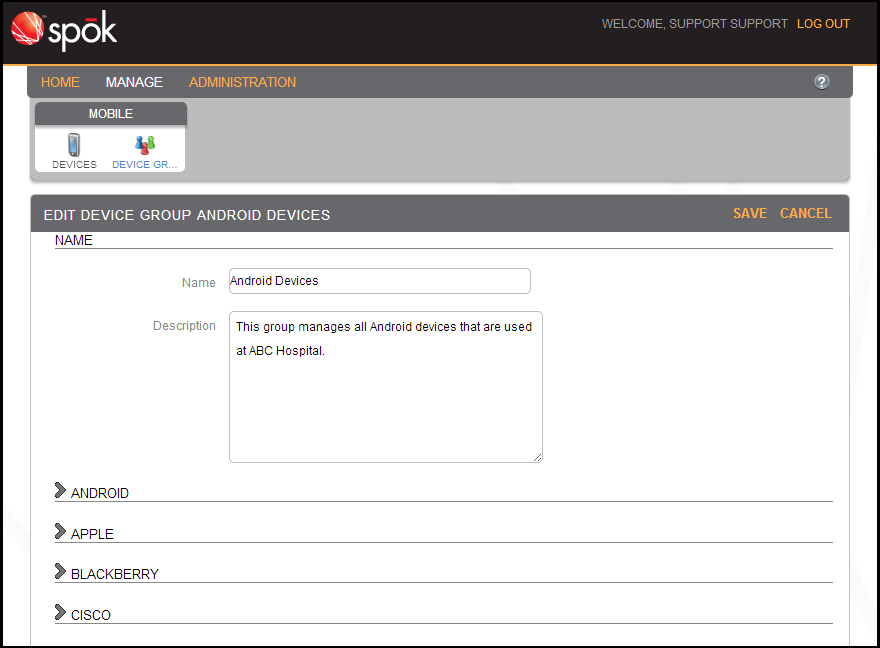
Click the Edit link next to the device group that you would like to edit. The Edit Device Group screen for this group will appear.

-
Make your changes to the device group. For more information about these fields, see Adding Device Groups.
-
When you are finished making changes, click Save to save your changes.
Deleting Device Groups
You can delete existing device groups from the system.
-
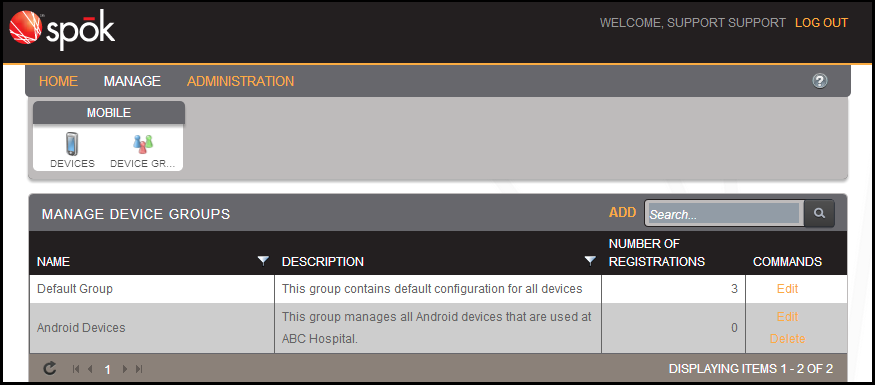
In the Spok Enterprise Administration interface, navigate to the Manage > Mobile > Device Groups menu option to view the Manage Device Groups table.
-
Click the Delete link next to the device group that you would like to remove. Note that the default device group cannot be deleted.

-
The following warning will appear. Click Yes to delete the group.
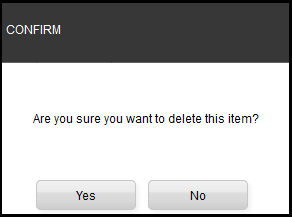
After the group has been deleted, the devices that were associated with it will return to the default group.
Device Group Settings
The following settings can be configured for a device group. All devices included in the device group will inherit these settings, overriding any setting changes made by the device's users.
Tone Options
Two types of messages can be sent in Spok Mobile: alert messages and chat messages. If a device receives an alert message, the Message screen will appear. Users will not be able to leave the Message screen or stop the alert tone they respond to the message.
The Tone Options section allows you to configure the sound that plays when an alert message is received.
|
Use Device Settings |
This option only appears on Android devices.
|
Enable the Editable option to allow the user to change this setting.
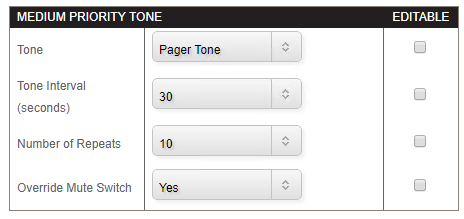
High, Medium, and Low Priority Tone Options
Tone options can be set for devices groups in this section. Spok Mobile messages are classified into three categories by the sender of the message. These levels are: high priority, medium priority, and low priority. For each preference level, you are able to change the tone, tone interval, number of repeats, and vibrate preference (vibrate option available only for Android).
The Editable fields next to the preferences options can be chosen to allow the mobile device user to set his or her own preferences without the device group settings dictating the preferences for the user.
Please note that depending on whether you are setting preferences for an Android or Apple device, the tone options in this section may vary. See examples of each below:
Android
Apple
|
Tone |
Within device groups, tones can be chosen to sound when a Spok Mobile message is received on the devices. |
|
Tone Volume
|
This option only displays for Android device types.
|
|
Tone Interval (seconds) |
|
|
Vibrate with Tone |
This option is for Android devices only.
|
|
Number of Repeats |
From the Number of Repeats drop-down menu, choose a number between one and ten. The number of repeats represents the number of times that the device repeats its alert tone when it receives a Spok Mobile message. For example, if you select five (5), the notification tone will play five times after the device receives a Spok Mobile message |
|
|
Enable the Editable option to allow the user to change this setting.
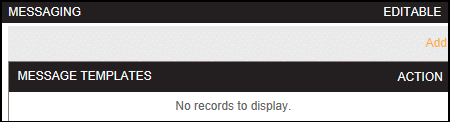
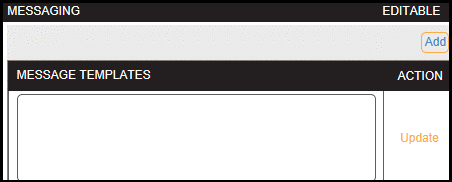
Message Templates
The Message Templates table allows administrators to create a set of standard message templates. A message template consists of a block of reusable text that cannot be changed. Using a message template allows users to quickly compose or reply to a message, and other text as needed.
After an administrator saves templates in the Preferences screen, the templates are then available on the device.
Users cannot remove templates that administrators create for them. However, they are able to add additional templates on their own Spok Mobile devices.
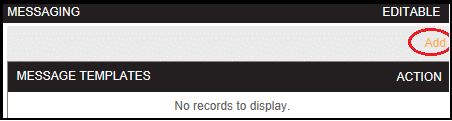
Adding Message Templates
-
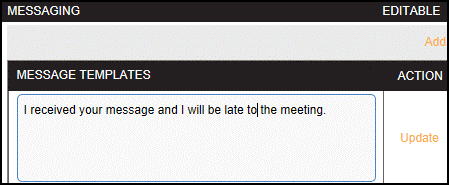
Click the Add link to expand the Message Templates field.
-
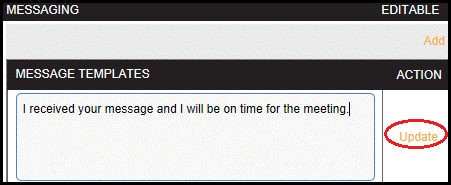
In the Message Templates field, enter the text of the message template.
-
When you are finished enterring the text of the template, click the Update link to save the template.
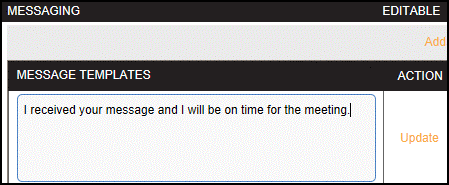
Editing Message Templates
-
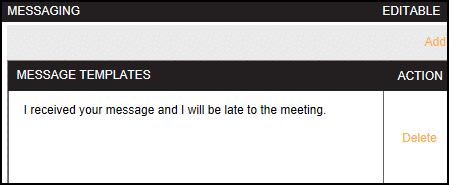
Navigate to the saved message template that you would like to edit. The template will appear in the Message Templates field.
-
Click on the message template. The field becomes editable.
-
Make any desired changes.
-
Click the Update link to save your changes.
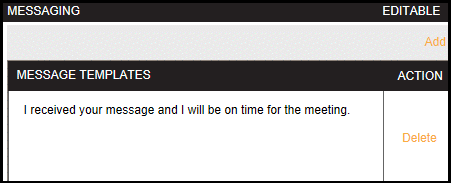
Deleting Message Templates
-
Navigate to the saved message template that you would like to edit. The template will appear in the Message Templates field.
-
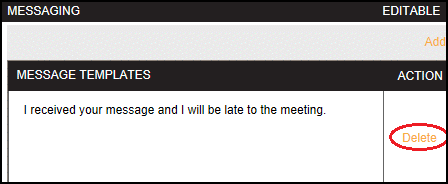
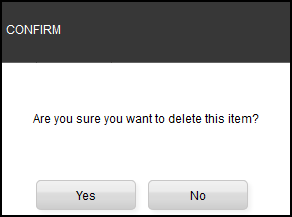
Click the Delete link next to the message template. A warning dialog will appear.
-
Click Yes to delete the message template.
-
Click Save at the top of the page to save your changes and apply them to the device.
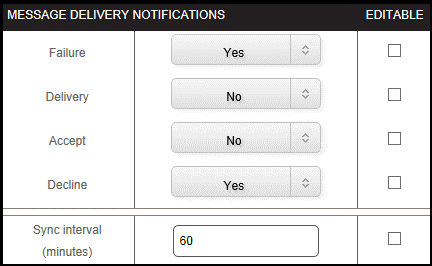
Message Delivery Notifications
|
Failure |
The Failure option determines whether the device is notified when message delivery fails.
|
|
Delivery |
The Delivery option determines whether the device will be notified when a message is successfully delivered.
|
|
Accept |
The Accept option determines whether the device will be notified when a message is accepted.
|
|
Decline |
The Decline option determines whether the device will be notified when a message is declined.
|
|
Sync interval (minutes) |
The value in the Sync interval field determines the number of minutes that the Spok Mobile device will wait between syncs. Please note that the sync interval should be between 5 and 1000 minutes. This option only appears on Android and Cisco device types. |
Enable the Editable option to allow the user to change this setting.
Message Storage

|
Max Message Age |
The Max Message Age field determines how long messages will be stored on the device before being deleted. For example, if you select the “3” option, messages that are older than three days will be automatically deleted from the Spok Mobile device. |
|
Max Messages Stored |
The Max Messages Stored field determines how many messages will be stored on the Spok Mobile device at one time. For example, if you select the “500” option, no more than 500 messages will be stored on a Spok Mobile device at one time. |
Enable the Editable option to allow the user to change this setting.
Attachments
The Spok Mobile application can send Spok Mobile messages with picture and video attachments. This feature allows users to send this type of media from mobile devices safely and securely. The Attachments feature allows administrators to configure which devices have the ability to send picture and video attachments.
The Attachments section only appears on Android and Apple devices.

|
Enable Attachments |
Choose one of the following options:
|
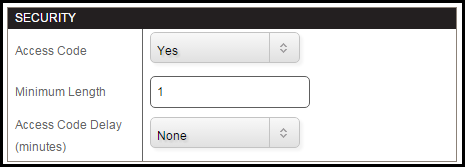
Security
The Security section allows administrators to control access code requirements. Administrators can require that users enter a security code to access the Spok Mobile application. If a user is registered to multiple sites, and one of their sites requires an access code, the user must enter an access code every time he or she accesses Spok Mobile on their device.
The Security section appears only for Android and Apple device types.
|
Access Code |
Choose one of the following options:
|
|
Minimum Length |
If the Yes option is selected, the Minimum Length field will appear. This field determines the minimum number of characters that the user must enter when setting the access code. NOTE: If the Minimum Length value is set to “0,” there is no minimum length required.
|
|
Access Code Delay (minutes) |
The Access Code Delay field allows you to extend the amount of time that the user’s application waits before locking itself. After the application has locked itself, the user must enter an access code to re-open the application. You can set the application to lock and require an access code after 10 minutes, 20 minutes, or 30 minutes. |
Notifications Section
The Notifications section appears only on Android devices.

|
Enable Notifications |
Enable the Android Notifications option to allow users to use Spok Mobile on Android wearable devices.
|
Spread the Word Section

|
Enable Spread The Word |
Choose one of the following options:
|