Getting Started
This article describes how to perform basic Spok Mobile administration tasks, such as accessing and logging into the Spok Enterprise Administration system, refreshing and navigating pages, and viewing help and version information.
Login Credentials
Two groups of users have administration rights in the Spok Enterprise Administration system. The groups are:
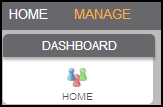
- support: This group has access to the Home, Manage, and Administration tabs. All sections of this document apply to support users.
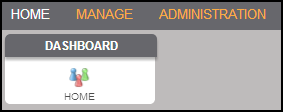
- admin: This group has access to the Home and Manage tabs.
For admin users, login credentials are supplied by a Spok representative after Spok Mobile installation and training.
Logging In
Before you can access the Spok Enterprise Administration interface, you must log into the system. You must be on your site's LAN (or connected to it over a VPN) in order to connect to the administrative interface. The following steps describe how to log in.
- Open a browser window.
- Access the Spok Enterprise Administration Login page by navigating to http://FQDN/Web or https://FQDN/Web. In both of these, "FQDN" is the Fully Qualified Domain Name of the Platform Server. To perform initial configurations of Spok Mobile, or to make changes to the Mobile Server, visit this location from the Mobile Server. The login page is shown below.
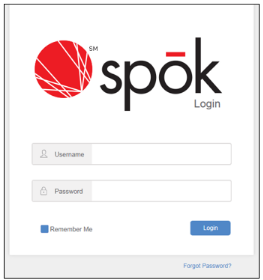
- In the Username field, enter your username.
- In the Password field, enter the password that is linked to the username that you entered above. This password is provided by a Spok representative after the system is installed and training is completed.
- If you would like the system to remember your login credentials for the the next time you access the Login page, select the Remember Me? option.
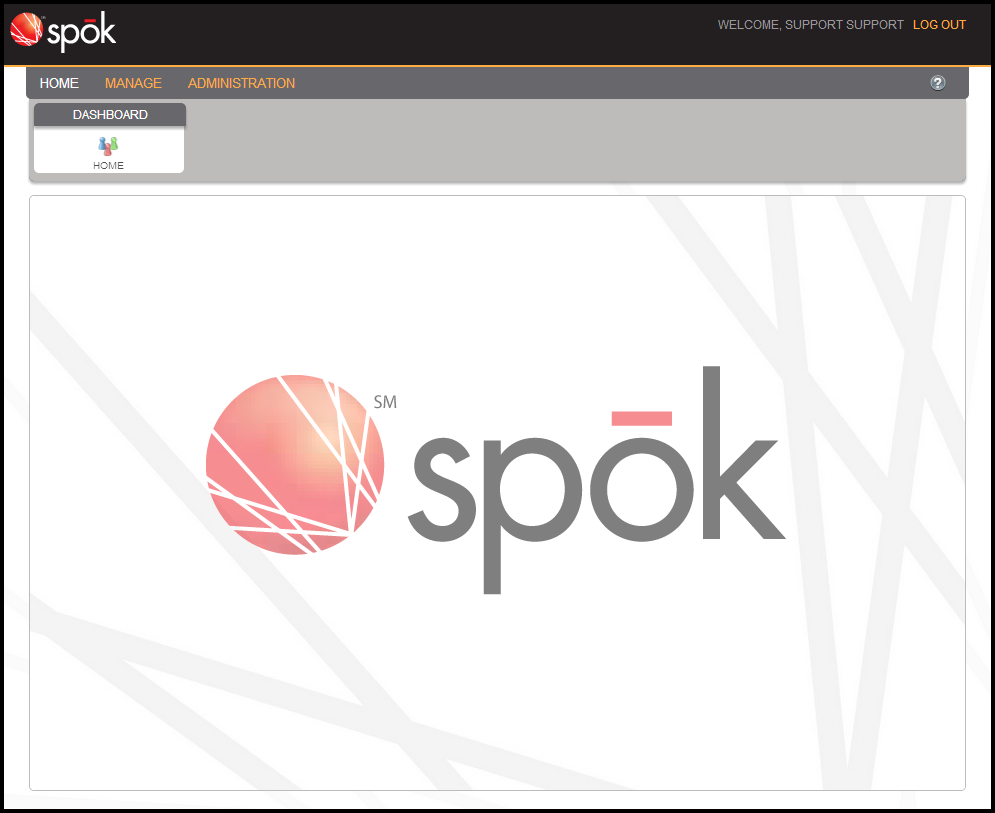
- Click the Login button. You will be logged into the system, and the Spok Enterprise Administration Home screen will appear.
Recovering a Forgotten Password
If you forget your password, please contact your Spok representative.
Logging Out
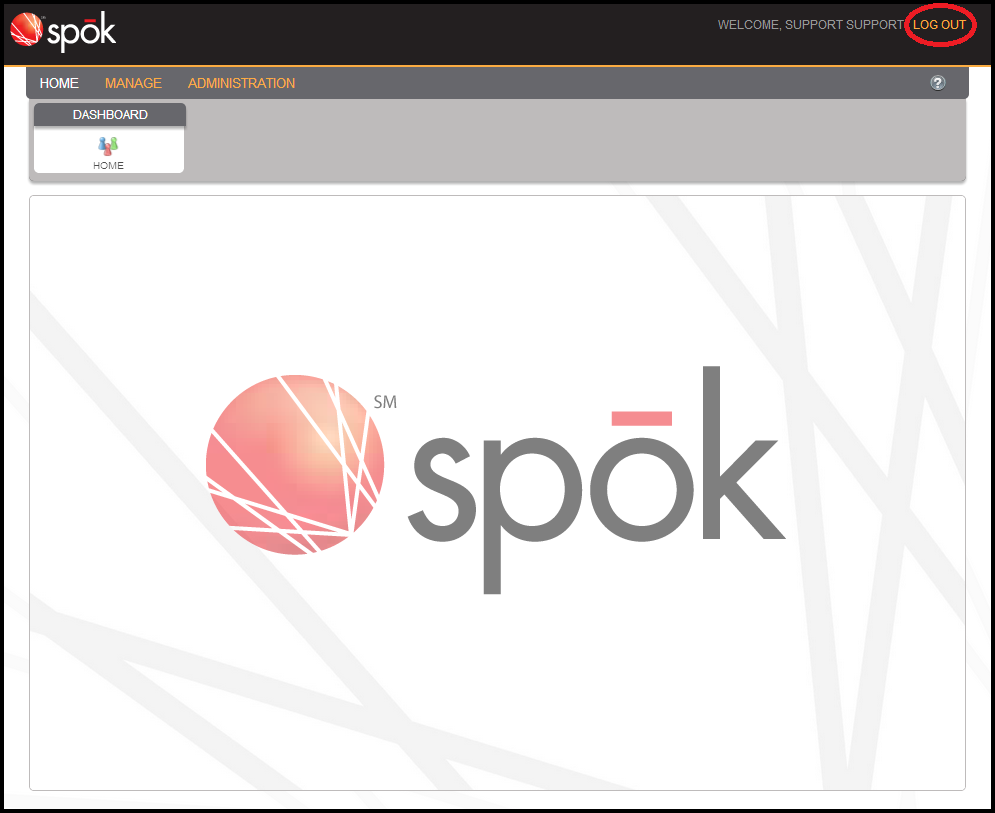
To log out of the Spok Enterprise Administration system, click Log Out in the upper-right corner of the interface.
- Navigate to any screen within the Spok Enterprise Administration system.

- Click Log Out. You will be logged out of the system and the Login screen will be displayed.
Using Pages with Tables
Pages with tables have a variety of functions to help you use and navigate them. In the Spok Enterprise Administration system, three pages use tables:
- Manage > Mobile > Devices
- Manage > Mobile > Device Groups
- Administration > System Configuration > Integration
Refreshing Pages
To help ensure that you see the most current information, pages with tables can be refreshed within the Spok Enterprise Administration interface.
- In the Spok Enterprise Administration interface, navigate to a page with a table. In this example, we chose Manage > Mobile > Devices. This page is shown below.
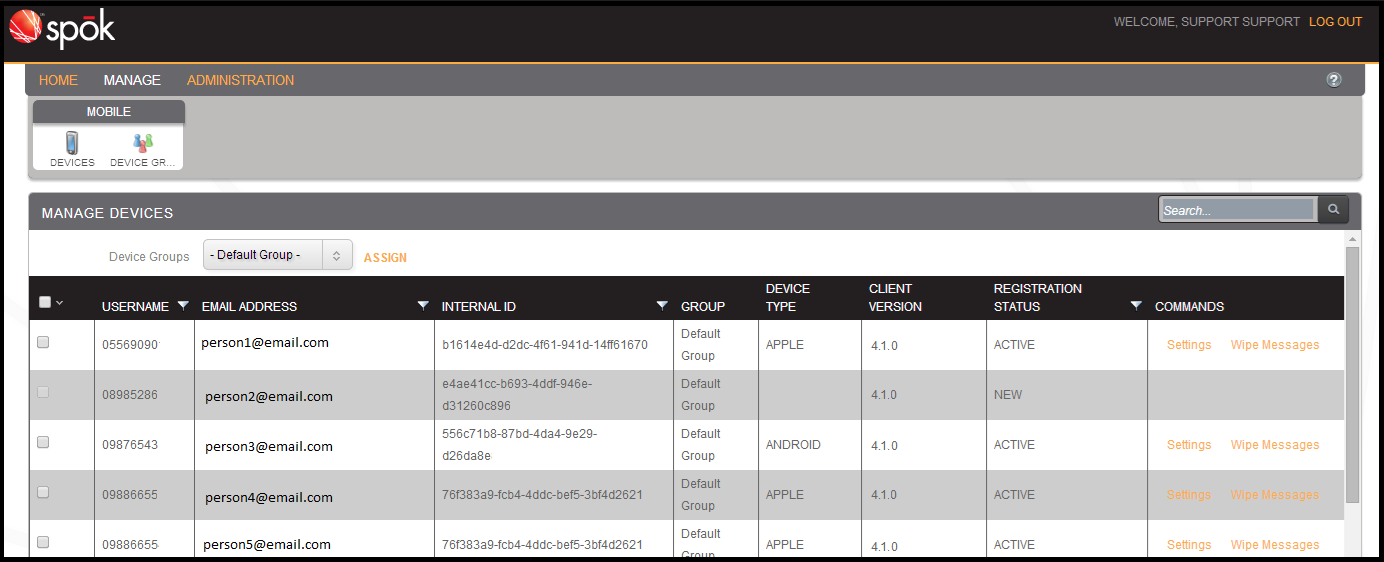
- Scroll to the bottom of the page. Click the Refresh button in the lower-left corner of the screen to refresh the information in the table.

Navigating Tables
On pages with tables, you can navigate to additional pages if necessary.
- In the Spok Enterprise Administration interface, navigate to a page with a table. In this example, we chose Manage > Mobile > Devices. This page is shown below.

- Scroll to the bottom of the screen and find the controls shown below.

- Click on the buttons to perform the following actions.
 |
Click this button to return to the first page of the table. Regardless of what page you are on in the table, you will return to the first page when you click this button. |
 |
Click this button to return to the previous page of the table. For example, if you are on page 3 of the table, you will return to page 2 when you click this button. |
 |
Click this button to go to the next page of the table. For example, if you are on page 4 of the table, you will return to page 5 of the table when you click this button. |
 |
Click this button to go to the last page of the table. For example, if you are on page 5 of the table and the table has a total of 15 pages, you will go to page 15 when you click this button. |
Viewing Page Numbers
- In the Spok Enterprise Administration interface, navigate to a page with a table. In this example we chose Manage > Mobile > Devices. This page is shown below.

- Scroll to the bottom of the screen. The highlighted number indicates which page of the table that you are currently viewing. For example, in the image shown below, the first page of the table is being shown.

Performing a Basic Search
You can search a table for a specific item. Please note that each page with a table has search restrictions:
- On the Manage Devices page, you can only search by username.
- On the Manage Device Groups page, you can only search by name.
- On the Manage Integration Settings page, you can only search by name.
- In the Spok Enterprise Administration interface, navigate to a page with a table. In this example we chose Manage > Mobile > Devices. This page is shown below.

- Click inside the Search box at the top-right of the Manage Devices page.
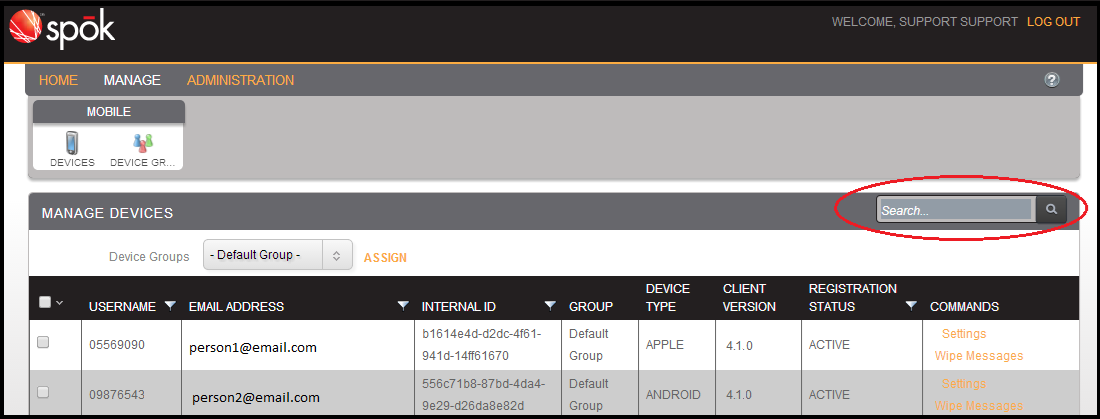
- Type the information that you would like to search for. The search box will display suggestions based on the characters that you have typed.
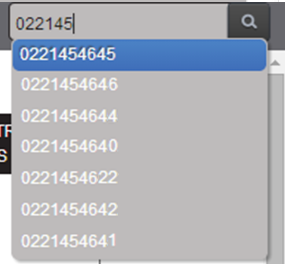
- Select an option from the drop-down list to search for that particular device.

To clear the search and view all devices again, delete the text in the search box and click the Search button.
Rearranging Columns
You can customize the order in which columns are displayed in a table.
- In the Spok Enterprise Administration interface, navigate to a page with a table. In this example we chose Manage > Mobile > Devices. This page is shown below.

- Click and hold on a column heading, such as Username, Email Address, or Group.

- Drag the column to the desired location. In this example, we want the Email Address column to display first in the table, so we need to drag that column's heading to the left.

- When you have dragged the column to where you would like it to go, release the mouse button. The column will stay in the position to which you dragged it.

Sorting a Table
The rows in a table can be sorted by column. For example, the device table can be sorted by Username, Email Address, Internal ID, Group, Device Type, Client Version, Registration Status.
A table can be sorted in alphabetical, reverse alphabetical, ascending, or descending order by column. To sort a table, click on the heading of the column by which you want to sort the table. Click on the column heading again to reverse the sort order. For example, you can click on the Username header to switch between sorting the table alphabetically by ascending or descending order.
You can sort a table by multiple columns at the same time. For example, if you would like to sort the Username column, click on its header once to sort it. Then, if you would also like to sort the Email Address column, click on that header.
The Commands column in the device table cannot be sorted.
Filtering a Table
You can filter a table for rows that match search conditions which you specify. You can search for specific keywords within a column, or search by logical equality or non-equality.
- In the Spok Enterprise Administration interface, navigate to a page with a table. In this example, we chose Manage > Mobile > Devices. This page is shown below.

- Click on the funnel icon next to the heading of the column in which you want to search. The Filter drop-down menu displays.

- In the Filter dialog, select one of the following options from the first drop-down menu:
| Filter condition | Rows which will be shown |
|
Is equal to |
Rows in which the value in this column is exactly equal to the value you specify. |
|
Is not equal to |
Rows in which the value in this column is not equal to the value you specify. |
|
Starts with |
Rows in which the value in this column begins with the value you specify. |
|
Contains |
Rows in which the value in this column contains the value you specify. |
|
Does not contain |
Rows in which the value in this column does not contain the value you specify. |
|
Ends with |
Rows in which the value in this column ends with the value you specify. |
- In the text field below the filter drop-down menu, type the value that you would like to filter with.
- From the second drop-down menu, choose one of the options described in the table above.
- In the second field, enter the information that corresponds to the information that is entered into the second drop-down menu.
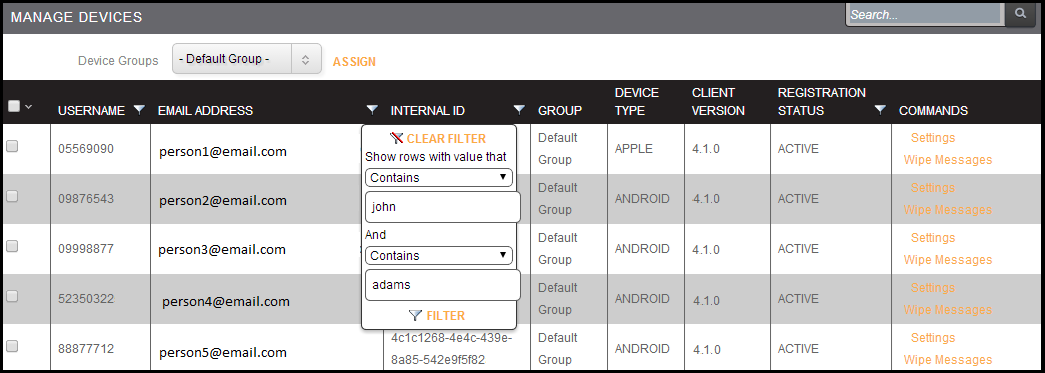
- Click the Filter link. The search results matching your filters display.
Accessing Help Information
An online help file can be accessed by clicking on the question mark icon located in the upper right-hand corner of each screen.

Viewing Version Information
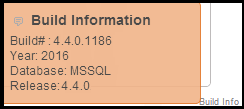
At the bottom right-hand corner of each screen is a small Build Info link. Hover over this link to view your system’s build number, year, database, and release number.
It is important to note that depending on the tab that is open when the Build Info link is clicked, different information can display. The information that displays depends on where the information that displays on the open tab is generated from. For example, if the open tab is hosted by the Spok Mobile service, the build information that displays applies to the Spok Mobile service.
![]()
