Editing Spok Mobile Configuration Settings
You can edit configuration information for Spok Mobile devices on the Edit Mobile Configuration page. To access the Edit Mobile Configuration page from the Spok Hosted Administration interface, navigate to the Administration > System Configuration > Mobile menu option.
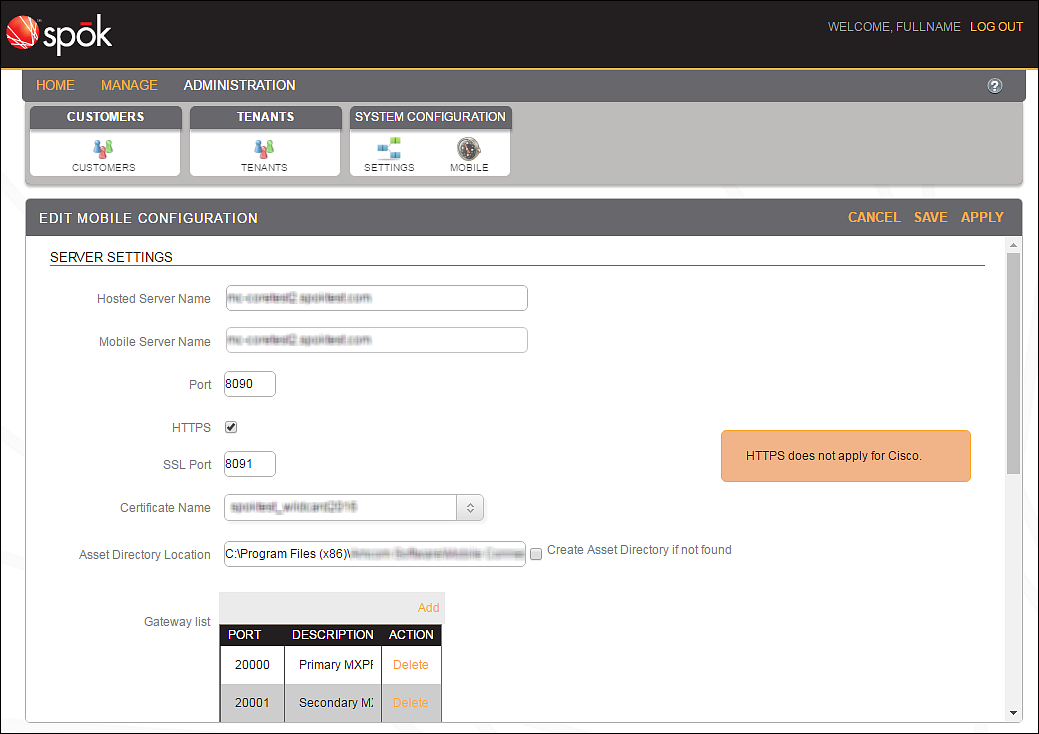
To apply any changes that you make on this screen, you must click the Save button, then the Apply button. Your changes will not be applied to the server until you click Apply. This applies whether you add new information or modify existing information.
When you Apply your changes, the server will experience a brief, planned outage while the changes are applied.
When you configure the Spok Mobile server, the server should not use a dynamic host configuration protocol (DHCP) for IP address assignment.
Prerequisites
Before you modify Spok Mobile configuration settings, follow the steps in the following guides:
Server Settings
The Server Settings section contains the following settings:
- The Message Delivery field should not be changed from this screen. This field is automatically populated based on choices made during the installation process. The Message Delivery drop-down menu contains the Local or Hosted options.
- Local: Local message delivery is required for client-initiated messaging, the remote wipe functionality, and device preference settings. Messages will be downloaded from the onsite Spok Mobile server, and will never leave the local site. Please note that when Message Delivery is set to Local, the Asset Directory Location field will appear.
- Hosted: When this option is selected, all messages will be sent to Spok Mobile Hosted for downloading. The Spok Mobile Hosted server is outside of the device’s local network. Please note that the following features are not available with hosted message delivery: client initiated messaging, remote message wipe, device group configuration, and device preference configuration.
- Do not change the Hosted Server Name field unless directed to do so by a Spok employee. This field displays the name of the hosted server.
- In the Mobile Server Name field, enter the name of the server that Spok Mobile devices will use to download Spok Mobile messages. The mobile server should be both externally and internally available. In load-balanced configurations, set this value to the DNS name of the load balancer. Please note the following:
- The server name that you enter in this field must match the Server Name field that is located on the Edit Settings screen. To view the Edit Settings screen, navigate to Administration > System Configuration > Settings. Please note that if you modify this field, the Server Name field on the Edit Settings screen will be automatically updated when you save your changes.
- If the Local Message Delivery option is selected in the Message Delivery field and the Spok Mobile Server is using a different URL to allow devices to download messages, then you can enter the fully-qualified domain name (FQDN) in this field. In this case, use the server name and domain name that are exposed on the public internet. If you do not use the public server and domain name, local message delivery will not work. Please note that the network address translation can map the server and domain name to the internal server running Spok Mobile.
- In the Port field, enter the number of the standard port that should be used for communication between Spok Mobile-enabled devices and the Spok Mobile Server. In most cases, this field should remain set to the default port number 8090. Do not alter this field unless you are specifically requested to do so.
- Enable the HTTPS option to use secure communication between Spok Mobile devices and the Spok Mobile Server.
- Enabled: Spok Mobile devices will be able to connect to the Spok Mobile Server over an HTTPS connection. If you enable this option, you must install an SSL certificate that is applied to IIS. When this option is enabled, a warning dialog will appear for users, notifying them that even if the option is enabled, the configuration will not apply to Cisco devices or configurations. In addition, the SSL Port field and the Certificate Name field will appear when this option is chosen.
- Disabled: When the HTTPS option is disabled, Spok Mobile devices will not be able to connect to the Spok Mobile Server over an HTTPS connection.
- In the SSL Port field, enter the port number for the standard port that should be used for encrypted communication between Spok Mobile enabled devices and the Spok Mobile Server. In most cases, this field should remain set to the default port 8091. For more information about how to use SSL certificates with Spok Mobile, see Configuring SSL Certificates.
This option will only appear if the HTTPS option is enabled.
- From the Certificate Name drop-down menu, choose the name of the SSL certificate for the server that you are using. All available installed certificates will be listed in this drop-down menu.
This option will only appear if the HTTPS option is enabled.
- In the Asset Directory Location field, enter the path to the Spok Mobile server. Attachments that Spok Mobile users send will be stored in this location
This field only displays if the Local option is selected from the Message Delivery drop-down menu.
- Enable the Create Asset Directory if not found option if the specified location does not exist and a new folder needs to be created.
- In the gateway list table, add gateways as needed. The gateway list table is used for setting up the connection between the Spok Mobile server and the host system.
Configuring Gateways
Adding Gateways
To add gateways to the Spok Mobile configuration on the Edit Mobile Configuration screen, do the following.
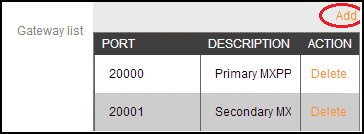
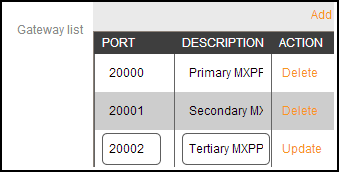
- Scroll down to the Gateway list table in the Server Settings section.
- In the Gateway list section, click Add. The Port and the Description fields will become editable.
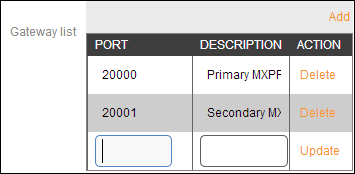
- In the Port field, enter the inbound port number that connects the host system you are using to Spok Mobile. Please note that any number between 1024 and 65535 can be used, as long as the port numbers match for the host system and Spok Mobile.
- Remove all firewall restrictions for the port in Microsoft Windows.
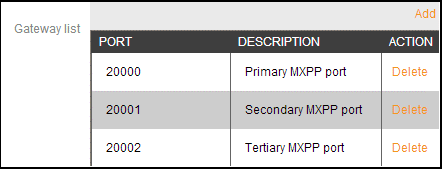
- In the Description field, enter any information that you would like to include with the port. For example, if you entered port 20000 and 20001, you could clarify which is the primary port and which is the secondary port, in order to prevent confusion.
- To add the new gateway to the list, click Update.
Editing Gateways
To edit existing gateways in the system, do the following.
- Scroll down to the Gateway list table in the Server Settings section.
- Click on the gateway that you would like to edit. The fields will become editable and an Update button will appear next to the gateway fields.
- Edit the desired information.
- Click Update next to the edited gateway to save your changes.
Deleting Gateways
To remove existing gateways from the system, do the following.
- Scroll down to the Gateway list table in the Server Settings section.
- Next to the gateway you would like to remove, click Delete. A confirmation dialog will appear.
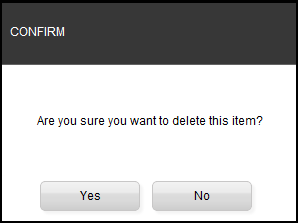
- Click Yes to remove the gateway from the list.
Database Settings
To establish a connection to the database server, do the following.
- Scroll to the Database section.
- In the Primary Server Name field, enter the fully-qualified domain name or IP address of the database server. In addition, append the SQL Server instance name to the end of the server name. For example:
- With an Instance:
<SERVER NAME>\<INSTANCE NAME> - Without an Instance:
<SERVER NAME>
- With an Instance:
- In the Secondary Server Name field, enter the fully-qualified domain name or IP address of the database service that should be used as a backup for the server that you entered in the Primary Server Name field.
You only need to enter information into this field if you are using mirroring.
- In the Username field, enter the username that will be used to connect to the database.
Leave this field set to the default value.
- In the Password field, enter the password that will be be used to connect to the database.
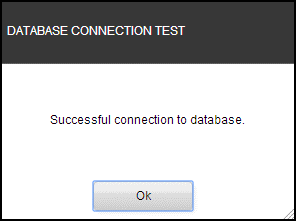
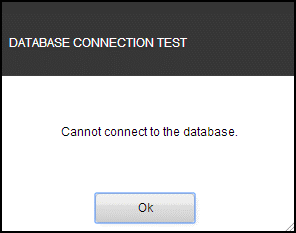
- After filling in the fields, click the Test link on the right side of the screen to confirm that the database information that you have entered is correct.

- If the entered information is correct, the following dialog will appear:
- If the entered information is incorrect, the following dialog will appear:
- If the entered information is correct, the following dialog will appear:
Messenger Settings
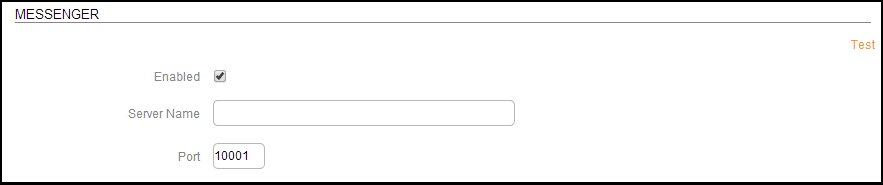
The Messenger section allows you to establish a connection to a Spok Messenger system.
- Select the Enabled option to enable a connection to Messenger for supporting SMS Poke notifications.
- In the Server Name field, enter the fully-qualified domain name or IP address at which Spok Messenger is installed.
- In the Port field, enter the number of the port that Messenger should use to listen for push notifications. The default installation uses port number 10001. However, in some cases, multiple ports are available because multiple applications connect to Messenger. For more information on what port number to add, see the Spok Messenger Admin Guide.
Depending on your system configuration, you may need to open this port in a firewall setting.
Adapter Settings
The Adapter section allows you to establish a connection to a Spok Care Connect system which has been configured to require authentication.
- Select the Enabled option if you would like to start the Adapter Windows Service. The Adapter Windows Service allows Care Connect to establish connections to Spok Mobile Services.
If you do not have a Care Connect system, you do not need to enable this field, or configure any of the settings below.
- In the Listener Port field, enter the port number through which Care Connect should connect to the Adapter Windows Service.
- Enable the HTTPS option to encrypt the communication through the listener port with an SSL certificate. For more information about how to use SSL certificates with Spok Mobile, see Configuring SSL Certificates.
- From the Gateway Port drop-down menu, select the gateway port number through which the Adapter Windows Service should connect to Spok Mobile. Please note that the gateway ports that display in the Gateway Port drop-down menu are configured in the Gateway List table in the System section above.
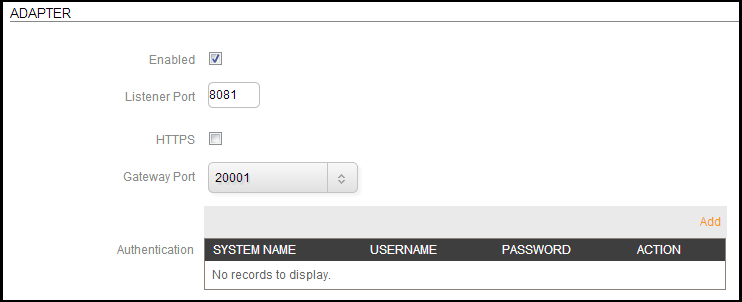
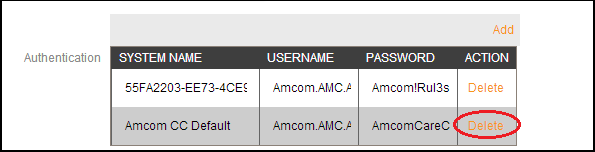
- In the Authentication table, add any necessary systems.
- When you are finished making changes, slick Save, then Apply.
Configuring Systems
Adding Systems
To add a Care Connect system to the Edit Mobile Configuration screen, do the following.
- Click Add to create a new row with editable fields.
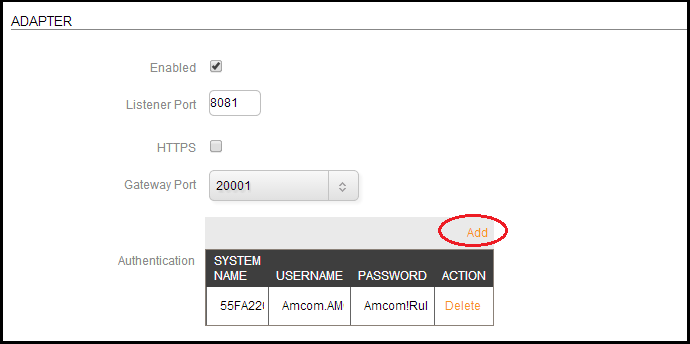
- In the System Name field, enter the name that is assigned to the Care Connect system to which you are connecting.
- In the Username field, enter the username that is used to sign into the Care Connect system to which you are connecting.
- In the Password field, enter the password that is linked to the username for the Care Connect system to which you are connecting.
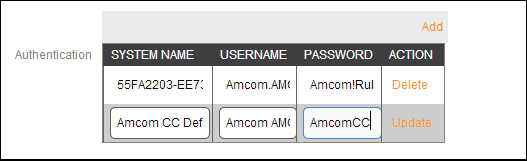
- Click the Update link.
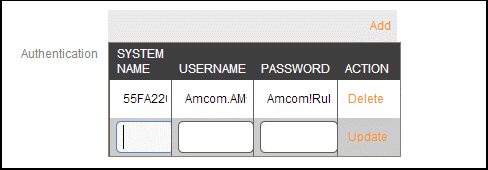
Editing Systems
To edit existing systems that are currently being managed in Spok Hosted Administration, do the following.
- Click the field that you would like to edit. The fields in that row will become editable.
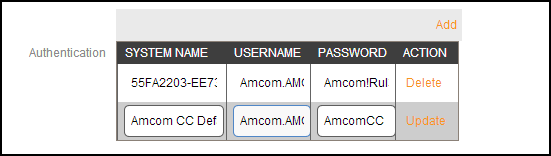
- Change the desired information.
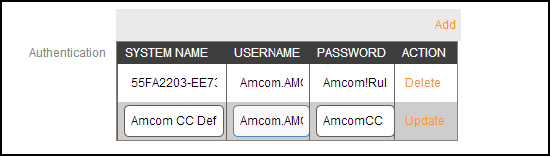
- After you are finished making changes, click the Update to update the entry for that system..
Deleting Systems
to delete existing systems that are currently being managed in the Edit Mobile Configuration screen, do the following.
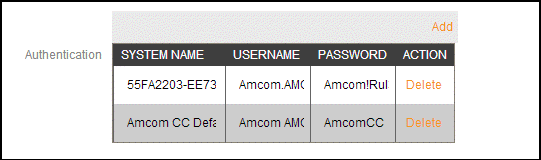
- In the Authentication table, click the Delete link next to the system that you would like to delete. A warning dialog will appear.
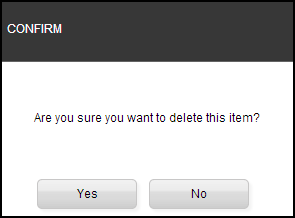
- Click Yes to delete the system.