Getting Started
Finding Your Login Information
Three groups of users have access to the Spok Hosted Administration interface, and each one has access to all of the tabs in the interface. The three groups are:
- support
- psg
- admin
Passwords associated with each of these usernames are available upon request.
Logging In
Before you can access the Spok Hosted Administration interface, you must log into the system. You must be on your site's LAN (or connected to it over a VPN) in order to connect to the administrative interface.
- Open a browser window.
- Access the Spok Hosted Administration Login page by navigating to
https://<FQDN>/Web or http://<FQDN>/Web, whereFQDNis the server's fully-qualified domain name.
After a new installation is complete, you will automatically be taken to the Login page. Keep in mind that the Spok Hosted Administration system can take up to 90 seconds to load after a new installation is completed.
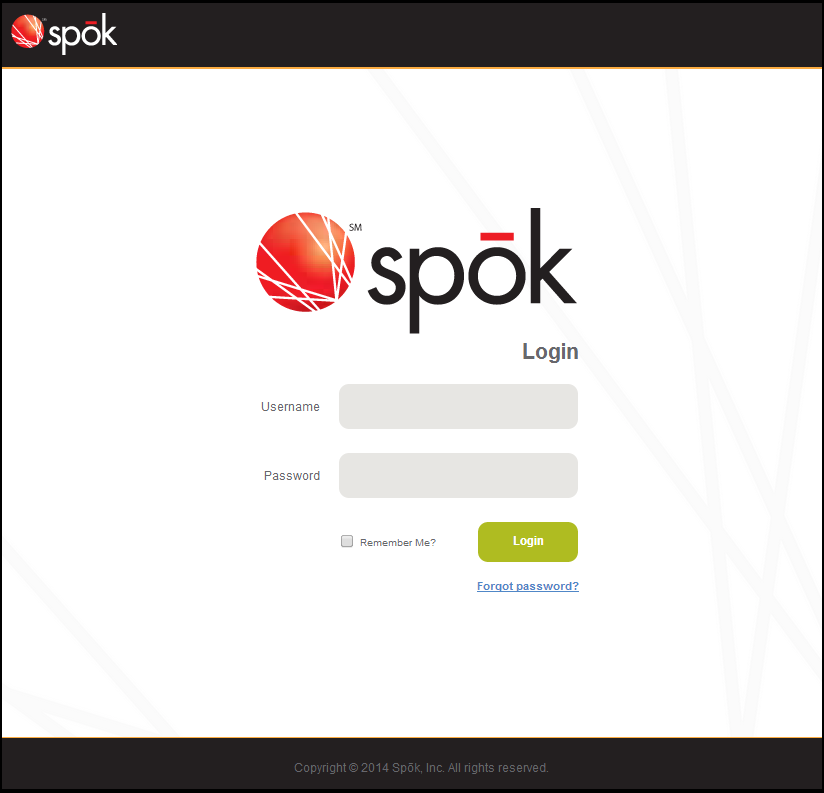
- In the Username field, enter your username.
- In the Password field, enter the password that is linked to the username that you entered.
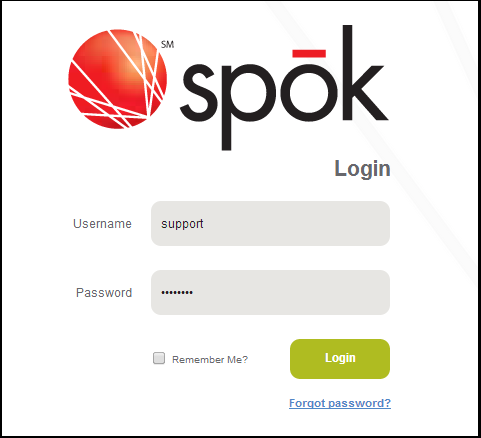
- If you would like the system to remember your login credentials for the next time you access the Login page, select the Remember Me? option.
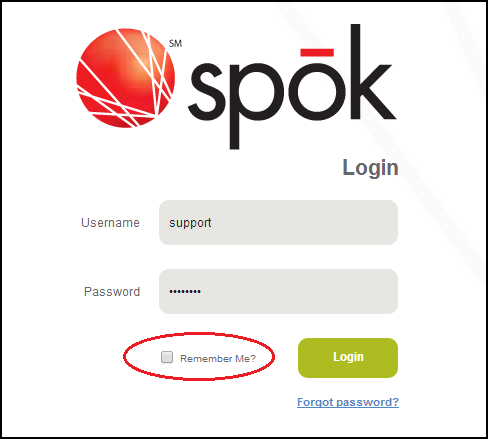
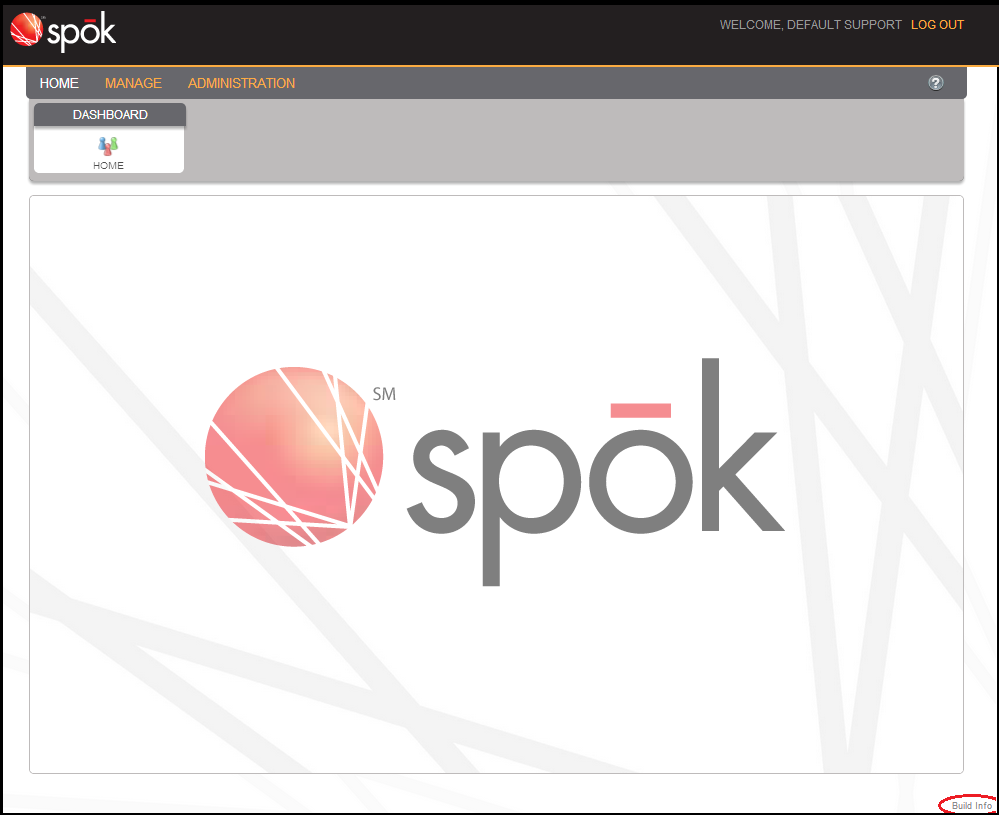
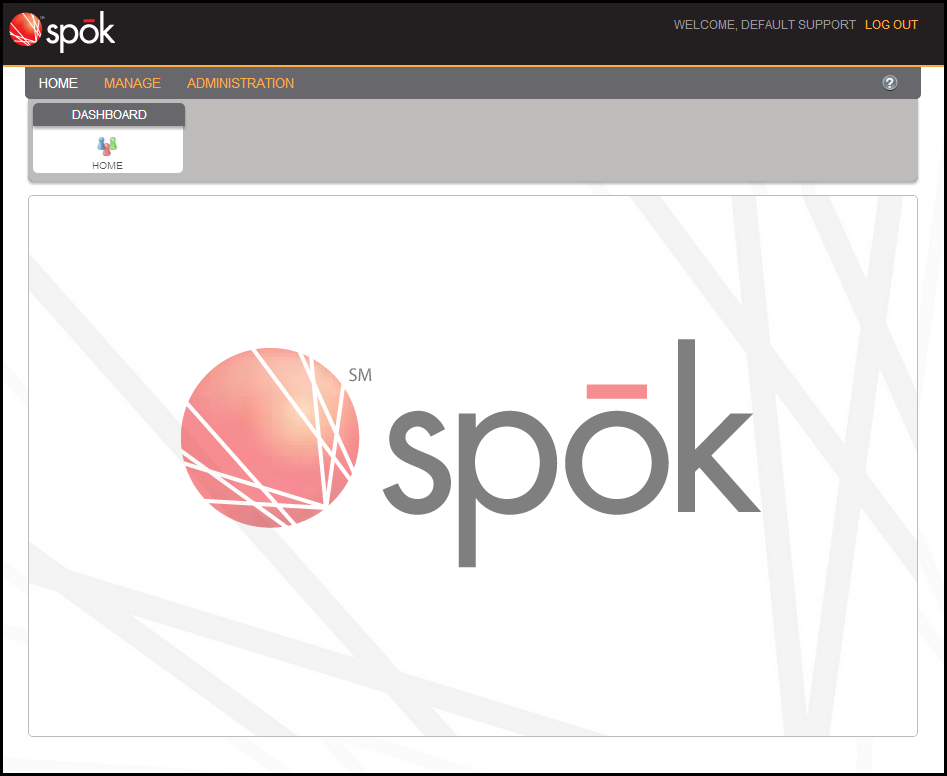
- Click the Login button to log in to the system. If the login was successful, you will be taken to the Spok Hosted Administration Home screen, shown below.
Recovering a Password
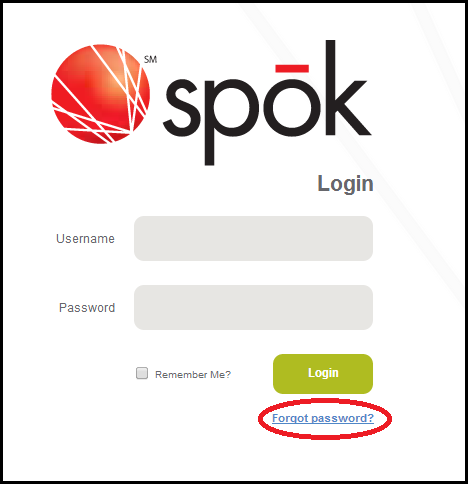
If you forget or lose your login password, please contact your Spok representative or click the Forgot password? link in the Login screen.
- Open a browser window.
- Access the Spok Hosted Administration Login page by navigating to
https://<FQDN>/Web or http://<FQDN>/Web, whereFQDNis the server's fully-qualified domain name.

- In the Username field, enter your username.
- Click the Forgot password? link. An email will be sent to
hosted.monitoring@spok.com, indicating that you forgot your password. The team that manages this email account will contact you with new password information.
Logging Out
You can log out of the Spok Hosted Administration system at any time by clicking on the Log Out button in the upper right corner of the interface, shown below.

Using Pages with Grids
Pages with grids have a variety of functions to help you use and navigate them. In the Spok Hosted Administration interface, three pages have grids:
- Manage > Mobile > Devices
- Administration > System Configuration > Customers
- Administration > System Configuration > Tenants
Refreshing Pages
To ensure that you are viewing the most current information, you can refresh pages with grids can be refreshed within the Spok Enterprise Administration interface.
- In the Spok Hosted Administration interface, navigate to a page with a grid. All of the examples on this page use the Manage Devices grid, which you can find by navigating to Manage > Mobile > Devices.

- Scroll to the bottom of the page and click the Refresh button.

Navigating Grids
On pages with grids whose information is too extensive to view on a single page, you can navigate to additional pages of information.
- Scroll to the bottom of the grid to find the navigation bar.

- Click on any of the buttons on the navigation bar to view other pages of information.
 |
Return to the first page of grid data, regardless of which page you are currently viewing. |
 |
Return to the previous page of data. |
 |
Go to the next page of grid data. |
 |
Go to the last page of grid data. |
Viewing Page Numbers
To find which page of information you are currently viewing, do the following.
- Scroll to the bottom of the grid to find the navigation bar.

- The numbers on the navigation bar represent the pages of grid data. The number highlighted in white is the page that you are currently viewing.

Performing a Basic Search
You can search grids to find specific items. Note that each grid only allows you to search by one parameter, as listed below.
- The Manage Devices page allows you to search by username.
- The Manage Device Groups page allows you to search by name.
- The Manage Integration Settings page allows you to search by name.
- On any page with a grid, click the Search box at the top of the page.

- Type your search terms. Suggestions will appear as you type.

- Select an option from the drop-down list. That particular record displays.

To view all records in the grid, delete the text in the search box and click the search button.
Rearranging Grid Headers
Grid headings can be rearranged to appear in any order.
- Click and hold on a heading (such as Username, Email Address, Group, etc.) that you would like to move.

- Drag the heading to the desired location. In this example, we want the Email Address heading to display first, so we drag that heading to the left.

- Once you have dragged the heading to where you would like it to go, release the mouse button. The heading now appears where you dragged it to.

Organizing List Items
You can sort a grid by column, in alphabetical, reverse alphabetical, ascending or descending order. To sort a grid, click on a column heading. Each click toggles sorting by ascending or descending alphabetical order. You can sort a grid by multiple fields at the same time. For example, if you would like to sort first by Username and then by Email Address, click the Username column header, then the Email Address column header.
You cannot sort by the Commands column.
Performing Advanced Searches
You can search a grid by category, such as by Username, Email Address, or Internal ID. You can also search for specific keywords within each category. To perform an advanced search, do the following.
- Click the filter icon next to the category header by which you would like to search. The Filter drop-down menu appears.

- In the Filter dialog, choose one of the following options from the first drop down menu:
|
Is equal to |
Returns items which exactly match the value that you enter. |
|
Is not equal to |
Returns items which do not match the value that you enter. This will exclude the value that you enter from search results. |
|
Starts with |
Returns items which begin with the character string that you enter. |
|
Contains |
Returns items which contain the character string that you enter anywhere in the items. |
|
Does not contain |
Returns items which do not contain the character string that you enter anywhere in the items. This will exclude any items which contain the character string that you enter. |
|
Ends with |
Returns items which end with the character string that you enter. |
- In the text field below the first drop-down box, enter the value by which you would like to search.
- (Optional) If you would like to add another search parameter, choose a search option from the second drop-down box.
- (Optional) If you selected a second search parameter, enter the value by which you would like to search in the second text field below the drop-down box.

- Click the Filter link to display the search results that match your query.
Accessing Help Information
You can access an online help file by clicking on the question mark icon located in the upper-right corner of each screen.

Viewing Version Information
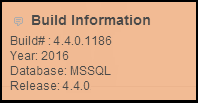
Hover over the Build Info link at the bottom-right corner of each screen to view your system’s build number, year, database, and release number.
