Performing Basic Tasks
Knowing how to perform basic tasks in the Spok Mobile application makes using the application faster and easier.
Deleting Messages
Messages that are received on your Spok Mobile application can be deleted either individually or they can all be deleted at one time.
Deleting Messages
Deleting Messages with a Swipe
- In the Messages screen, swipe from left to right over the message you would like to delete. Additional options display.
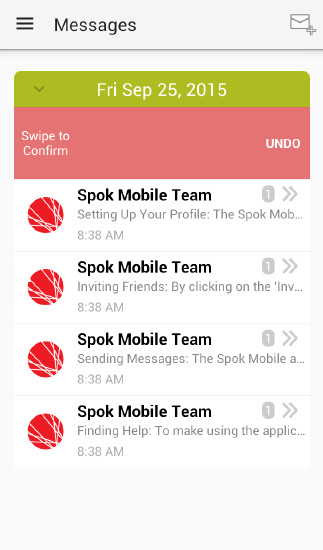
- Swipe from left to right across the message again to confirm the deletion. The message is deleted. Note that if you no longer would like to delete the message, you can click the Undo button to undo the deletion.
Deleting Messages with a Long Press
To delete individual messages in the application, perform these steps:
- Access the message that you would like to delete. The message displays.
- Click and hold down on the message that you would like to delete. A dialog displays.
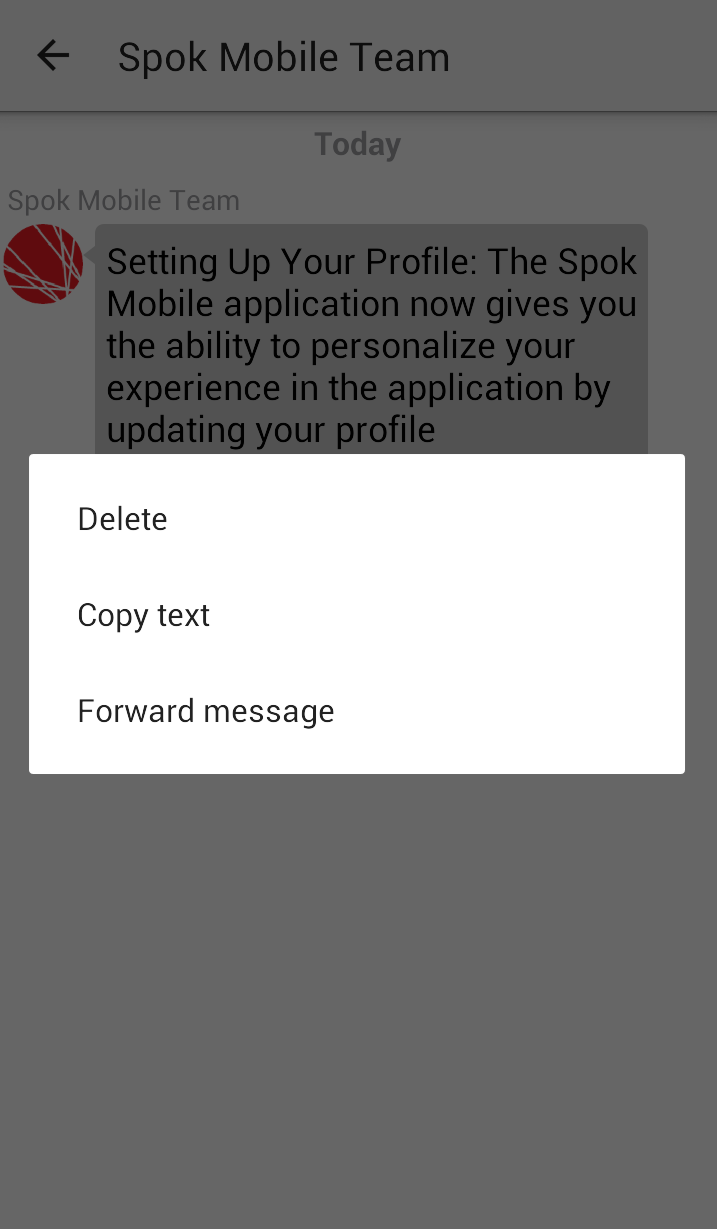
- Choose the Delete option. The message is deleted.
Deleting All Messages
To delete all of the messages in the application, perform the following steps:
- In the Spok Mobile application, click the drawer button. The drawer displays.
- In the drawer, click the Settings option. The Settings screen displays.
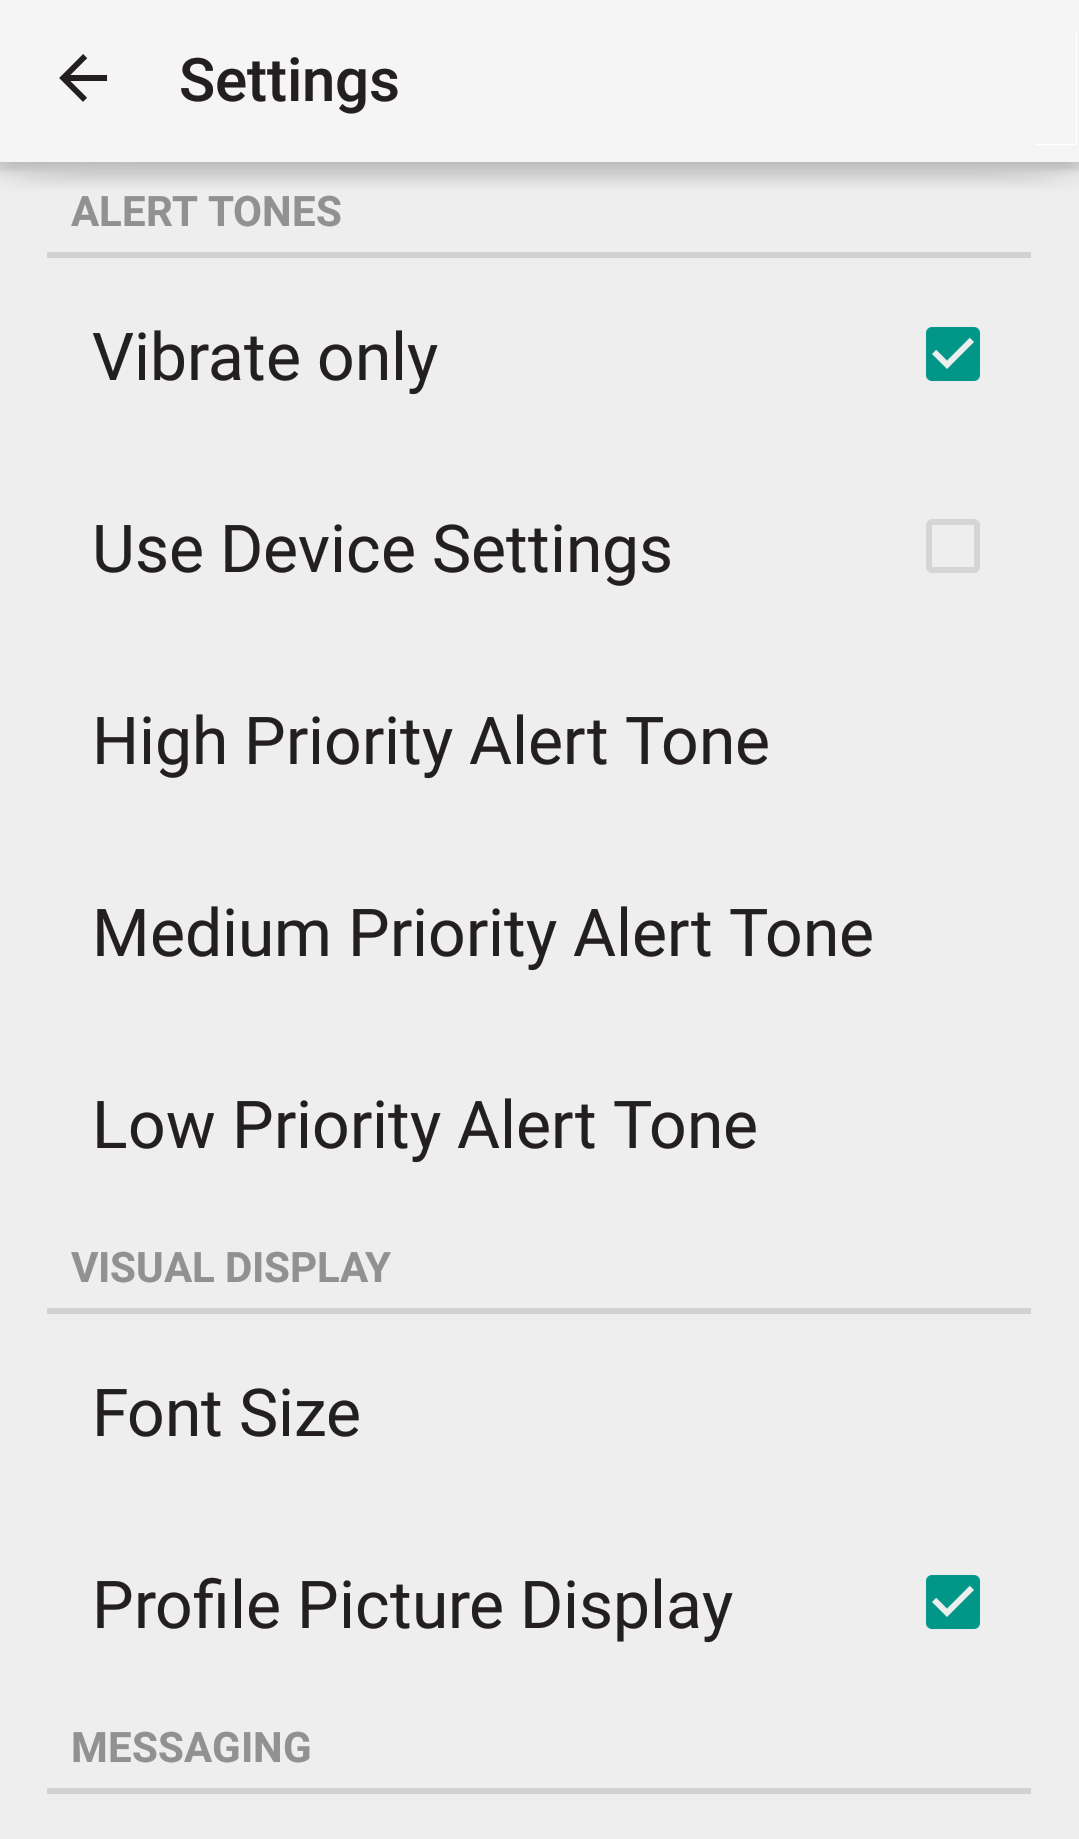
- In the Settings screen, choose the Delete all messages option. A warning dialog displays.
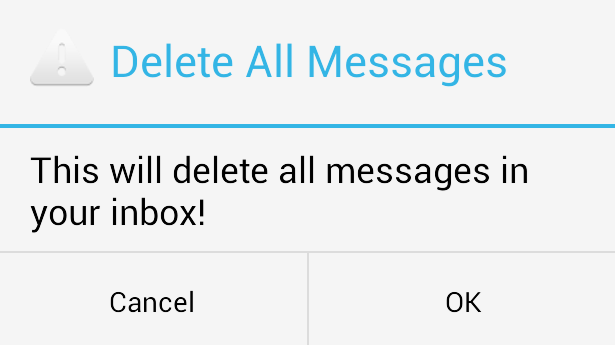
- Click OK. All of your messages are deleted.
Finding Your Password
The password that is linked to your Spok Mobile registration username is included in the email message you receive from Spok. If you lose your password, the email can be re-sent to your email address.
You can re-send the registration email that includes your registration password before you register your device as well as after you have already registered your device.
Accessing Your Registration Password When Not Registered
You can request that an email is sent to you with your password information for Spok Mobile when your device is not currently registered.
- Access the Spok Mobile application. If your device is not registered, the Registration screen displays.
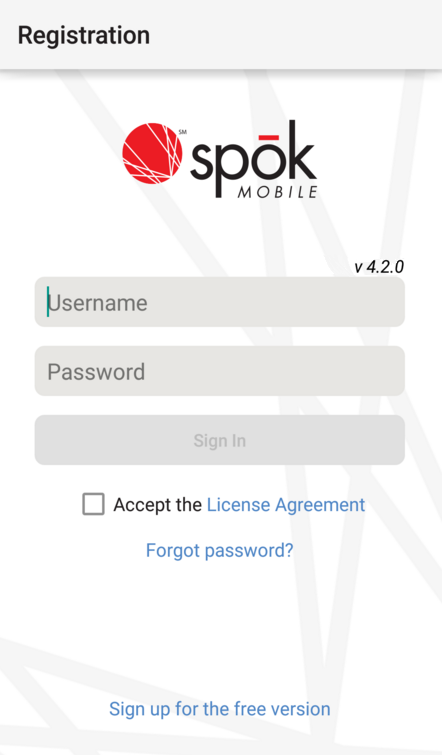
- In the Username field, enter your username. Please note that a password cannot be sent to you unless you enter the valid username for your account.
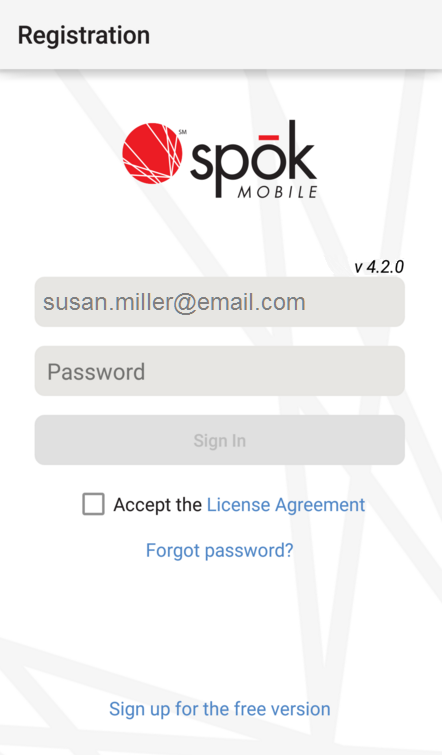
- Click the Forgot password? link. An email is sent to your email address. This email includes the password information that is required to sign into your Spok Mobile device.
Accessing Your Registration Password When Registered
You can request that an email is sent to you with your password information for Spok Mobile when your device is already registered.
- In the Spok Mobile application, click the drawer button. The drawer displays.
- In the drawer, click the Settings option. The Settings screen displays.
- In the Settings screen, choose the Registration option. The Registration screen displays

- Click the Forgot password? link. An email is sent to your email address that includes a reset password that can be used to register your device.
Changing Your Site Location
Some Spok Mobile clients are registered at more than one site. This allows users to have access to information like contacts and on call schedules for all of the sites they are registered to.
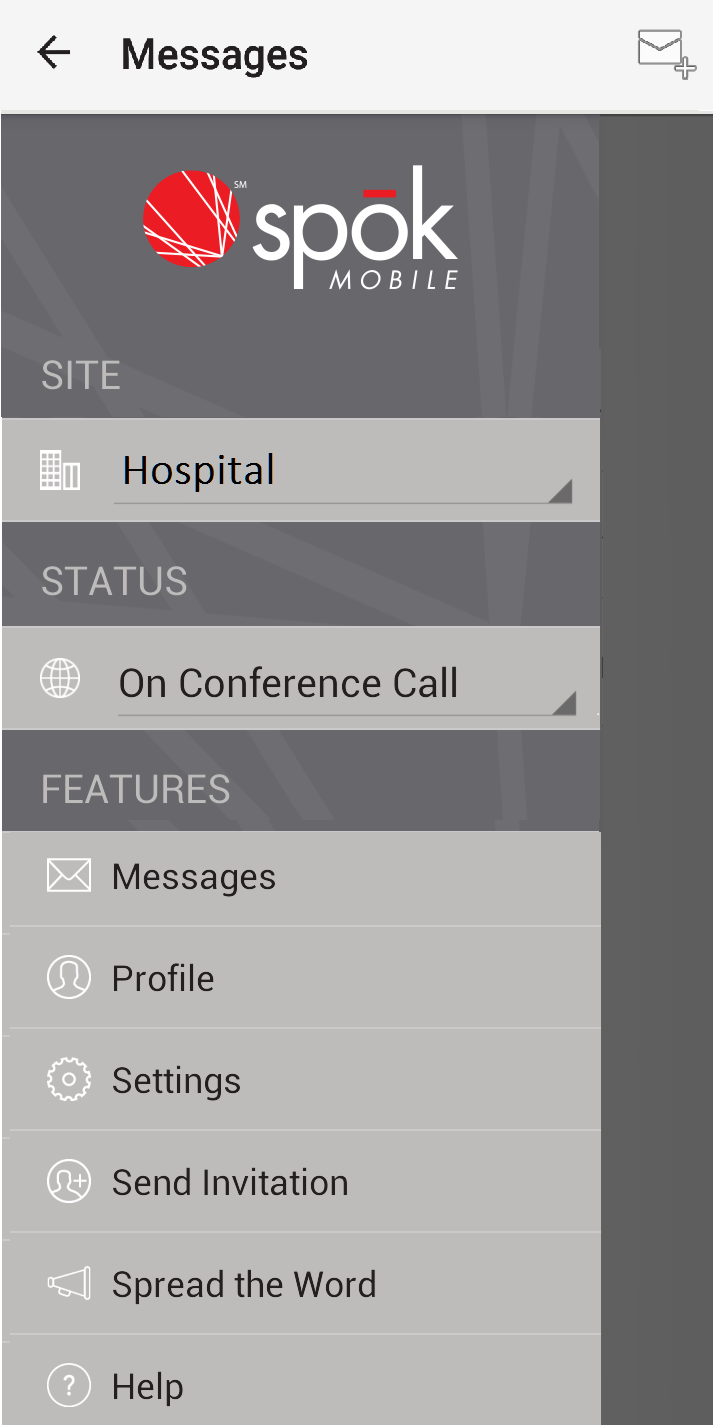
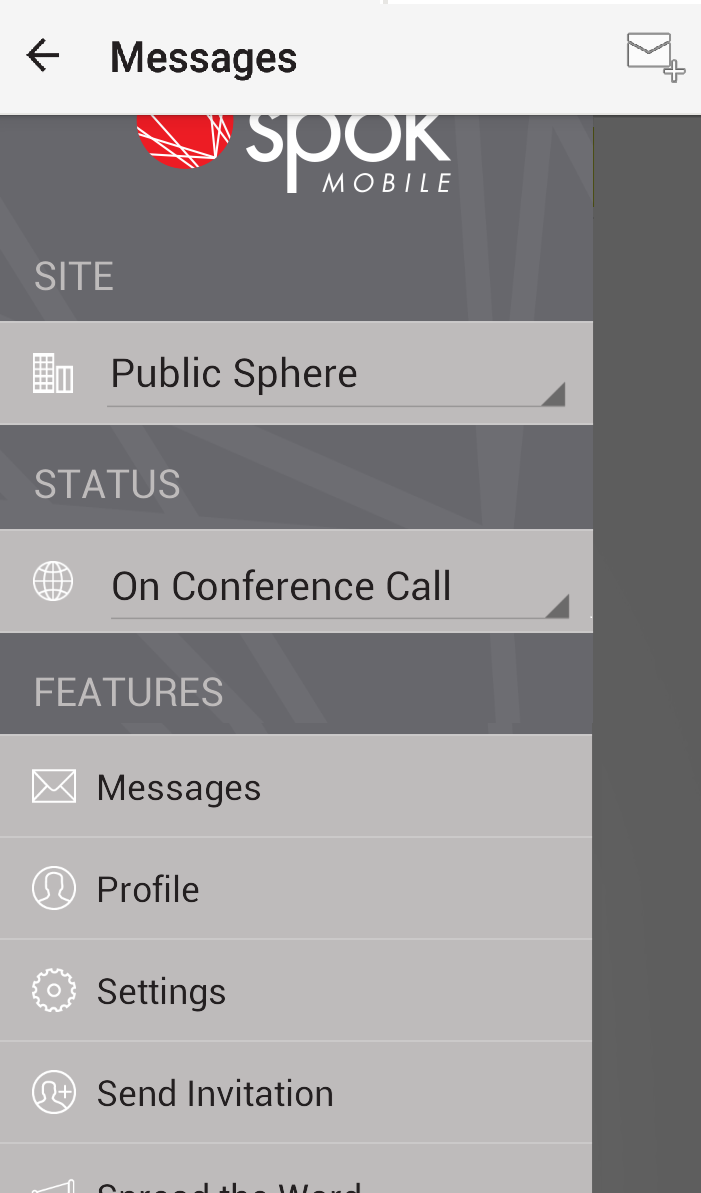
- In the Spok Mobile application, click the drawer button. The drawer displays.
- In the drawer, choose the currently chosen site. A list of other available sites to which you are registered displays.
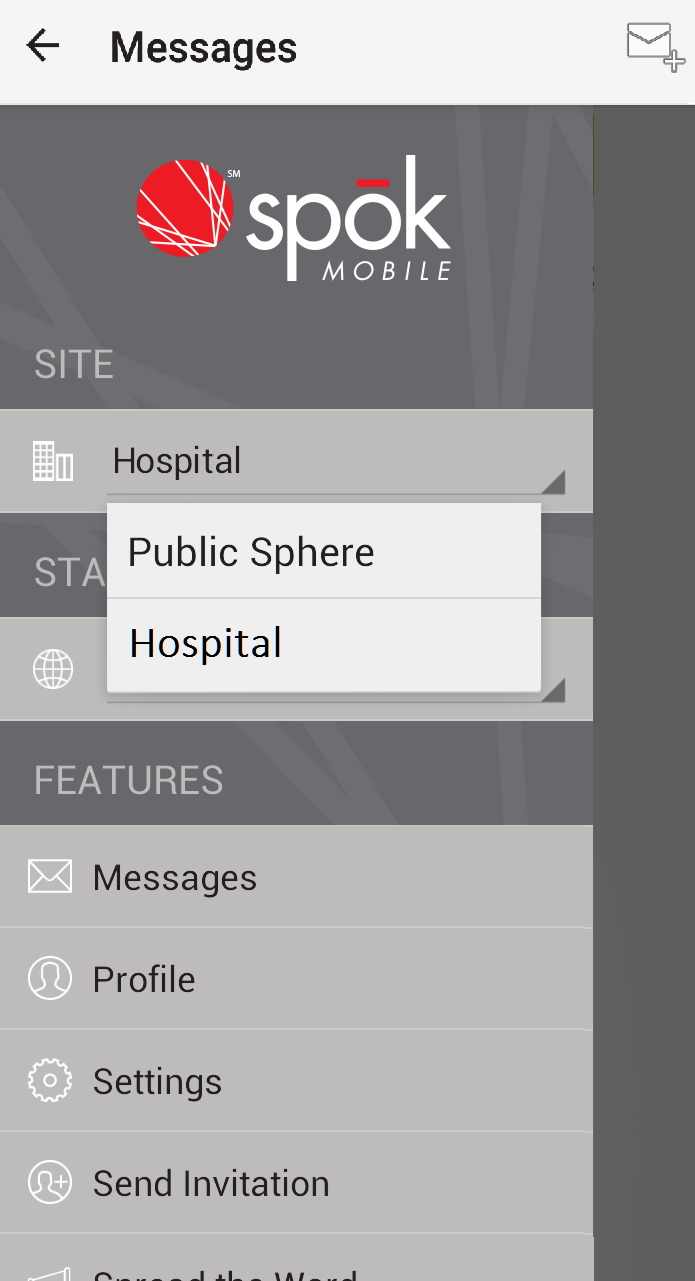
- From the list of available sites, choose the desired site. The chosen site displays in the drawer.
Changing Your Status
The Spok Mobile application allows you to choose a status that represents your availability to other Spok Mobile users. In the drawer application, you have the ability to choose from a list of available statuses that are managed in the host system to which you are registered.
For example, if a status of “Do Not Disturb” is created in your host system, you then have the ability to choose that status to notify others that you should not be disturbed. Then when others attempt to send you a message, they can see that you do not want to be disturbed at that time and can refrain from sending you a message.
- In the Spok Mobile application, click the drawer button. The drawer displays.
- In the Status field in the drawer, choose the status that is being displayed. Additional available statuses display. Please note that the statuses that display in the Spok Mobile client application are managed in the host system to which your device is registered; the text for the statuses cannot be edited in the Spok Mobile client application.
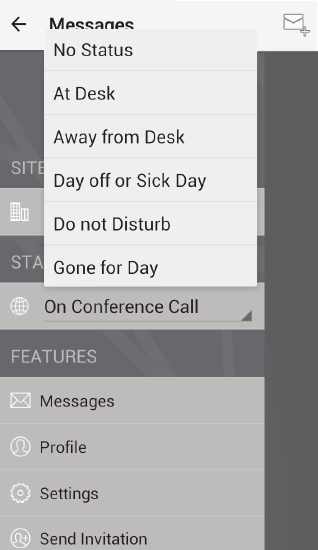
- Choose the desired status from the list of available statuses. The chosen status displays in the drawer and remains as your availability status until you manually change the status.
Refreshing the Messages Screen
You can refresh your Messages screen to ensure that the most recent messages are received on the device and are being displayed.
- In the Spok Mobile application, access the Messages screen. The Messages screen displays.

- Drag and drop from the top of the Messages screen to the bottom of the screen. The application refreshes the screen and any new messages display.

Accessing Help Information
Information to help you set up, use, and troubleshoot the Spok Mobile application can be found by clicking the Help link in the application’s drawer. When this option is clicked, you are taken to a web browser that includes text and videos on how to perform specific tasks within the application.
- In the Spok Mobile application, click the drawer button. The drawer displays.
- Choose the Help option. A web page displays, showing the available help content for the Spok Mobile product.
Accessing Additional Feature Information
To access information on additional product features, perform the following steps:
- In the Spok Mobile application, click the drawer button. The drawer displays.
- Click the Spread the Word link. You are taken to a web browser that displays information on additional product features.
Copying Message Text
Message text can be copied from the original message. When message text is copied, the text is copied to the Spok Mobile clipboard, which allows you to paste that message text to other locations in the Spok Mobile application. Please note that the text can only be pasted to other locations within the Spok Mobile application; the text cannot be pasted to locations outside of the application.
Copying Message Text from a Chat Bubble
To copy message text from a chat bubble, perform the following steps:
- Access the message text that you would like to copy. The message text displays.
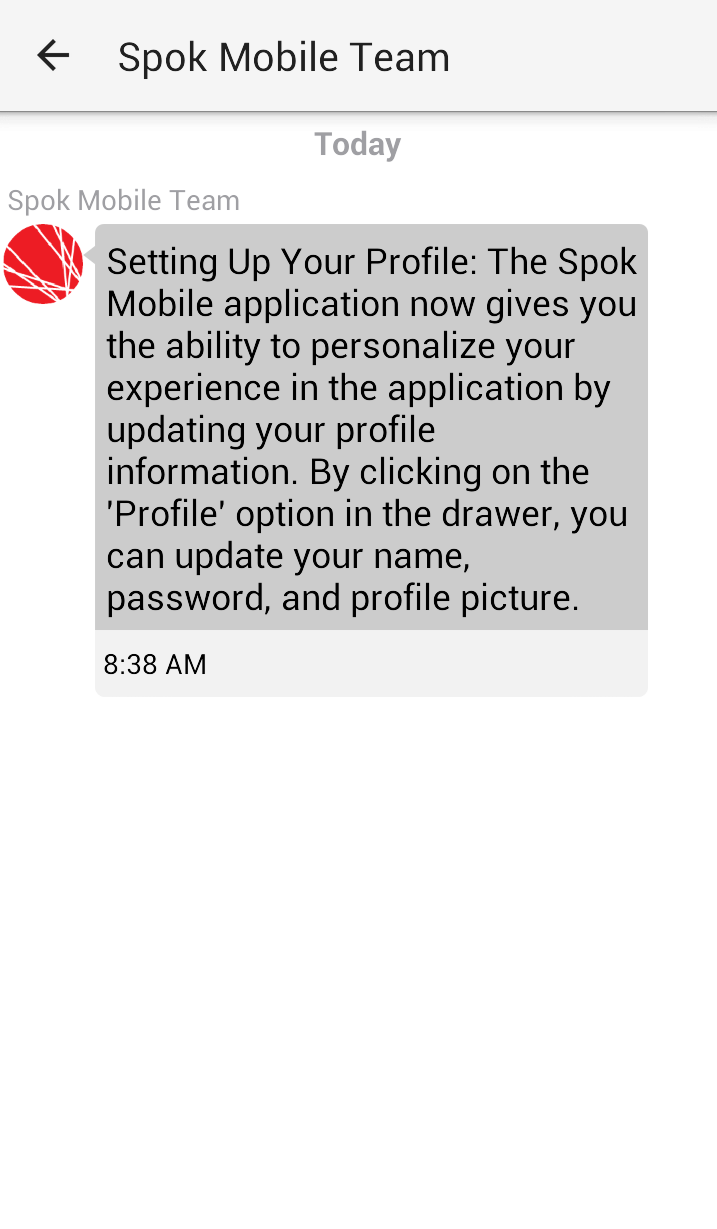
- Long press on the text that you would like to copy. The Copy text option displays.

- Choose the Copy text option. The message text is copied to Spok Mobile’s clipboard.
- Access the location in the application where you would like to paste the copied message text.
- Long press in the location where you would like to post the copied message text. The Paste option displays.
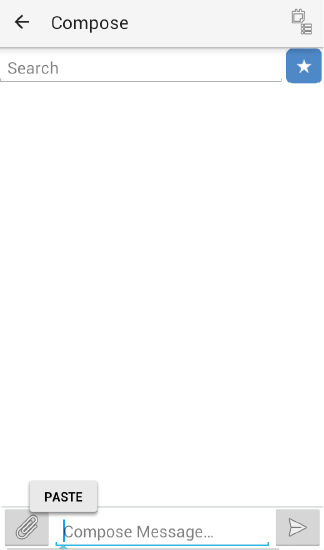
- Choose the Paste option. The message text is pasted into the chosen area.
Copying Message Text from the Messages Screen
To copy message text from the Messages screen, perform the following steps:
- In the Messages screen, access the message text you would like to copy. The message displays.

- On the message you would like to copy, long press on the message. Options display.
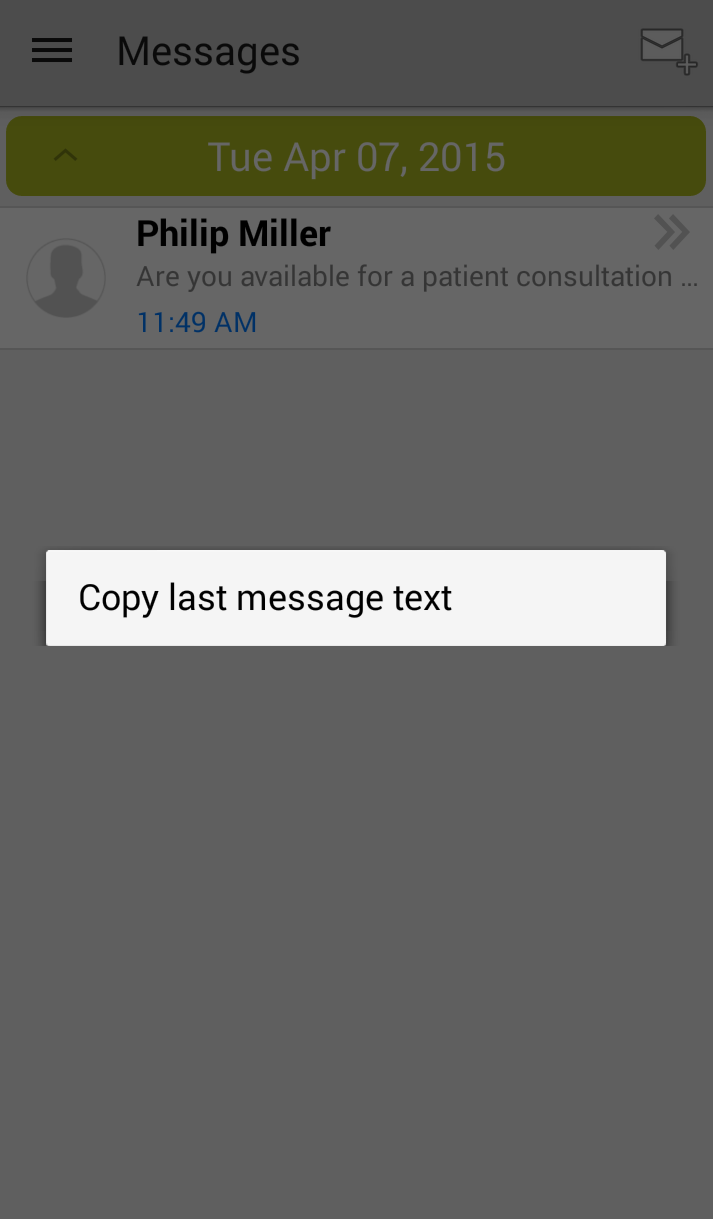
- Choose the Copy last message text option. The message text is copied to Spok Mobile’s clipboard.
- Access the location in the application where you would like to paste the copied message text.
- Long press in the location where you would like to paste the copied message text. The Paste option displays.
- Choose the Paste option. The message text is pasted into the chosen area.
Forwarding Message Text and Attachments
Message text and message attachments can be forwarded to other message recipients. Forwarding message text and attachments allows you to quickly and easily send an exact copy of these items to another recipient in a Spok Mobile message.
Forwarding Message Text and Attachments from a Chat Bubble
Message text and attachments can be forwarded from a chat bubble to other message recipients in the Spok Mobile application.
- Access the message text or attachment that you would like to forward. The message text displays.
- Long press on the text that you would like to forward. Menu options display.
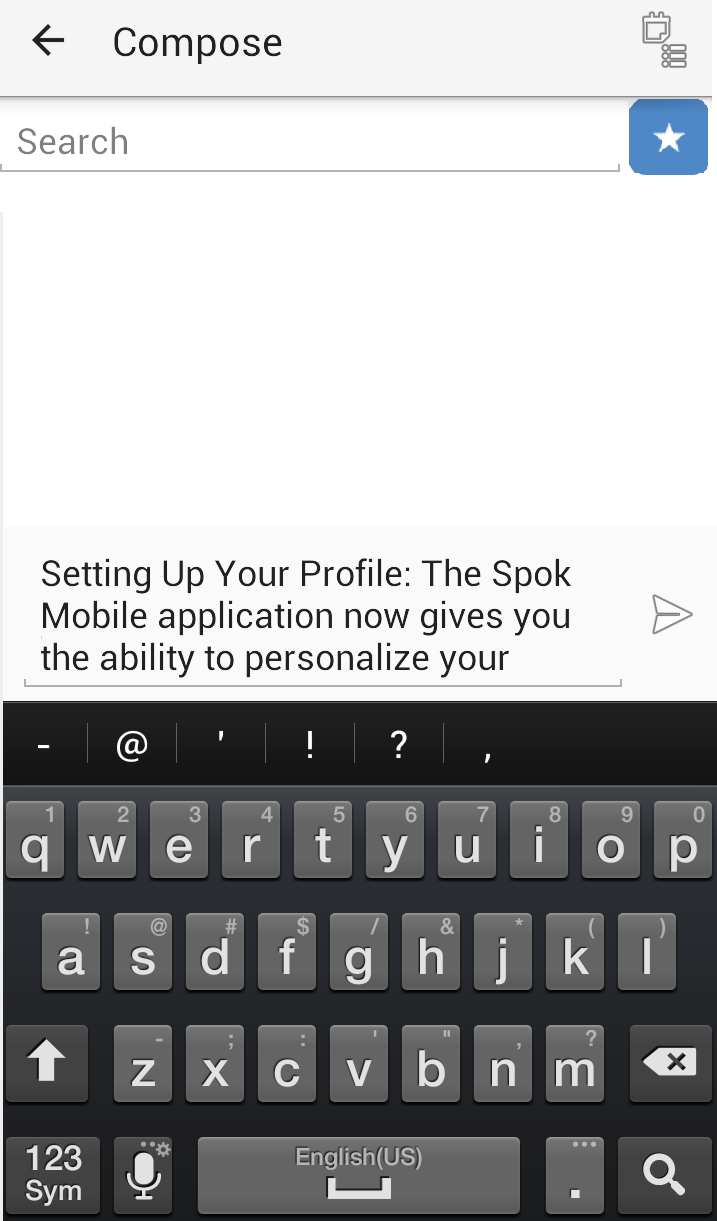
- Choose the Forward message option. A Compose screen displays with the forwarded text and any forwarded attachments automatically populated in the screen.
- Add any desired message recipients. For detailed information on how to add message recipients to messages, please refer to “Sending Messages” on page 80.
- Add any desired attachments. For detailed information on how to add message recipients to messages, please refer to “Sending Messages” on page 80.
- Click Send to send the forwarded text.
Forwarding Message Text and Attachments from the Messages Screen
Message text and attachments can be forwarded from the Messages screen to other message recipients in the Spok Mobile application.
- Across the message you would like to forward, swipe from right to left. The text is automatically populated into the Compose screen and the message text and attachments can be forwarded.
- Add any desired message recipients. For detailed information on how to add message recipients to messages, please refer to “Sending Messages” on page 80.
- Add any desired attachments. For detailed information on how to add message recipients to messages, please refer to “Sending Messages” on page 80.
- Click Send to send the forwarded text.
Initiating a Phone Call
The Spok Mobile application gives you the ability to click to dial phone numbers that are included in Spok Mobile messages. Based on how your Android device is set up, the Spok Mobile application uses the default calling application on your device. For example, if you only have the standard Phone application on your device set up to send and receive calls, the Spok Mobile application uses that application to initiate a phone call when a phone number is clicked in the Spok Mobile application.
Conversely, if you have a VoIP (voice over IP) application set up on your device and have that application set up as the default application to send and receive calls, the Spok Mobile application uses that VoIP application to initiate a phone call when a phone number is clicked in the Spok Mobile application.
For more detailed, device-specific information on how to set up the phone functionality on your device, please refer to the technical documentation for your Android device.
Note that if you are using Android 6.0 or later, permissions must be configured before you can initiate a phone call from within the Spok Mobile application.
- In the Spok Mobile message that includes a phone number, click the phone number. A dialog displays. In this dialog, the applications that are set up and can be used on your device to initiate phone calls display.

- From the list of applications, choose the application that you would like your device to use to initiate a phone call. The phone number that is clicked in the Spok Mobile message is called using the chosen application.
