Setting Up SSL Certificates
For detailed information on how to configure the certificate to the Spok Mobile product, please refer to the Implementing Spok Mobile Services guide for your release of Spok Mobile.
The following SSL certificate requirements must be met in order for Spok Mobile to function properly:
- The SSL certificate CANNOT be self-signed. The certificate must be from a trusted root authority. Examples include: Verisign, Thawte, and GoDaddy.
- If Smart Suite is being used with Spok Mobile, the following requirements must be met:
- Smart Suite 4.8.x requires SHA1
- Smart Suite 5.x requires SHA1 or SHA2
- The certificate can be a wildcard certificate for Android and iPhone devices. However, please note that if a wildcard certificate is being used, the certificate must be marked as “exportable.”
SSL Certificates (Non-Wildcard)
If a non-wildcard certificate is to be used with Spok Mobile, the certificate must be installed and bound to the Spok Mobile server and then tested. Certificates can also be imported and backed up. Information on how to perform these actions is included below.
Creating an SSL Certificate
-
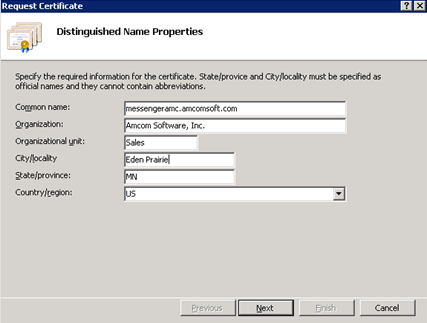
Choose a certificate name. Please note that this name should not be the host name of the server. For example, if you had www32-a-node1.yourmedicalfacility.org as your host name, the customer may not know to access this location. Instead, the customer may know to go to www.yourmedicalfacility.org. Therefore, this name needs to be registered. This SSL host name is shared between all applications that serve data for this application. Because of this, pick a generic SSL website name, such as “spokmobile.customer.org”.
-
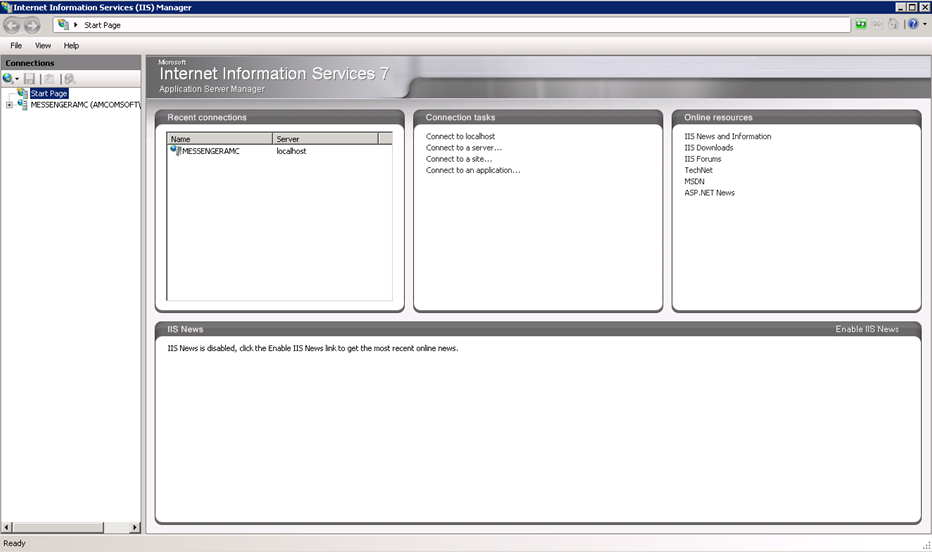
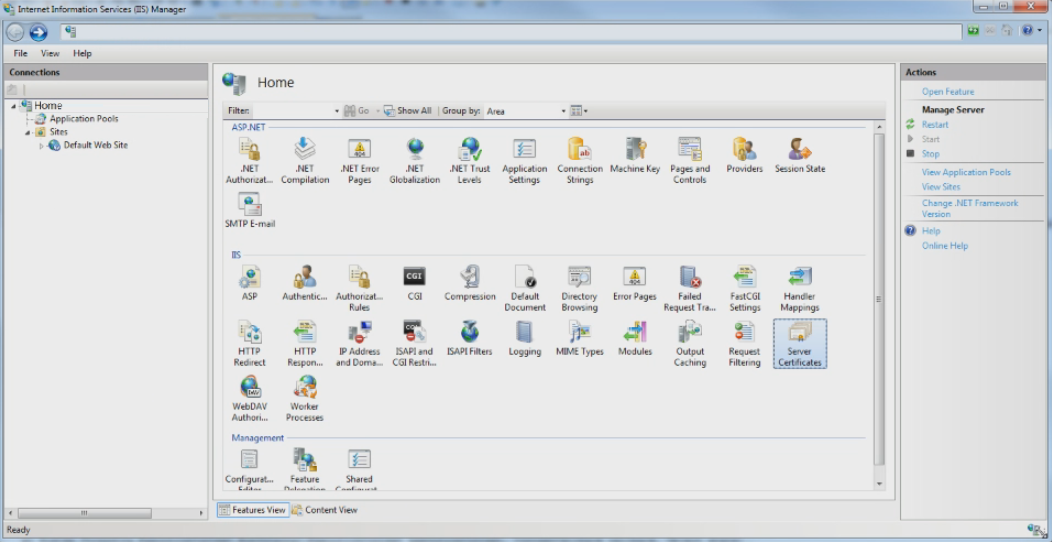
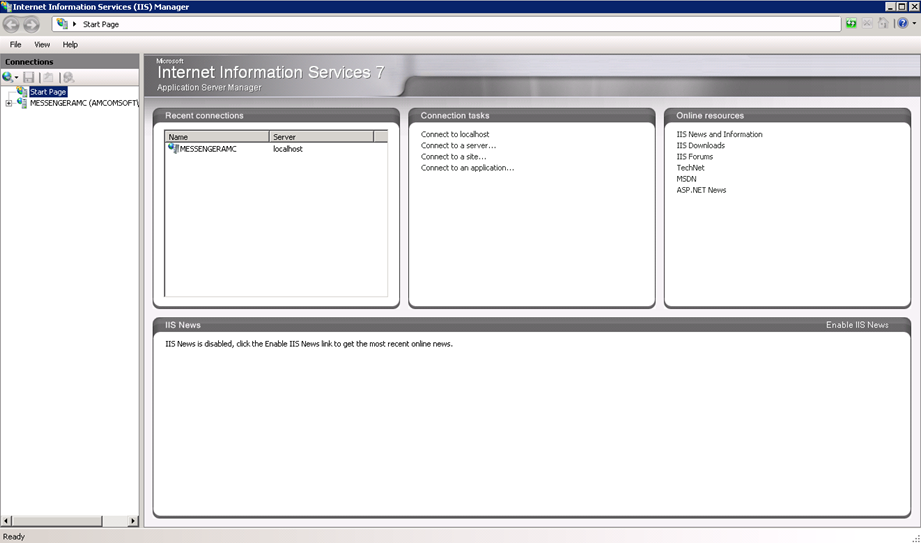
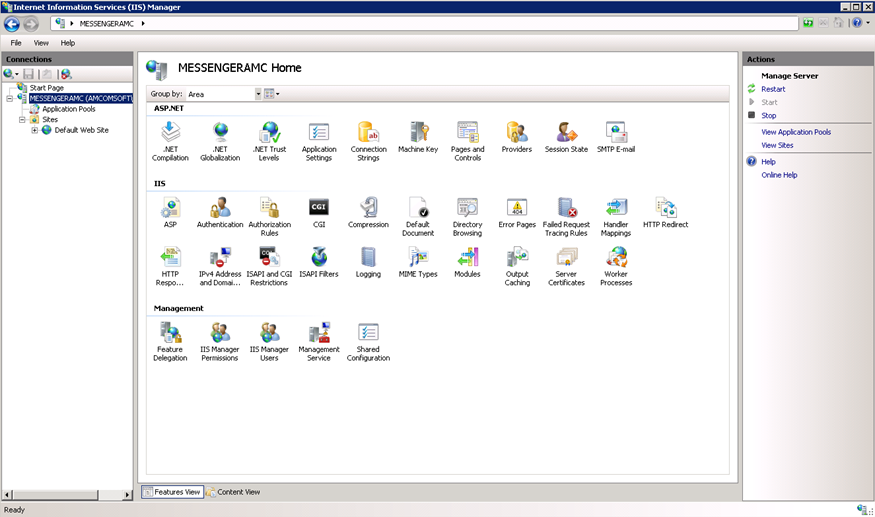
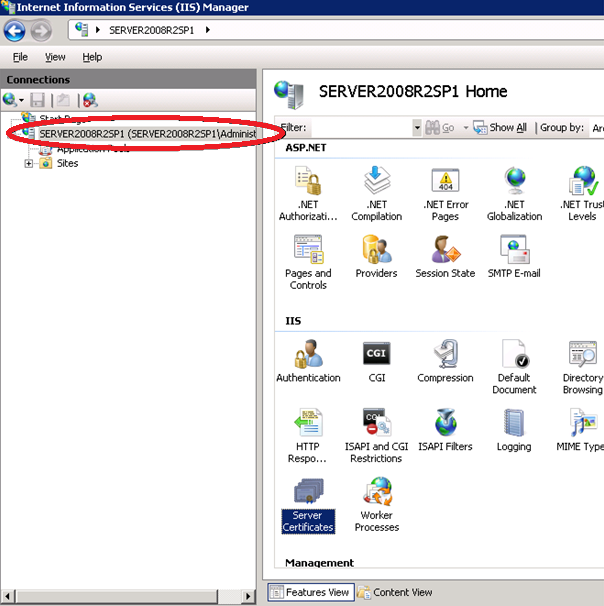
Access the Internet Information Services (IIS) Manager on the Spok Mobile server. In most cases, this can be accessed by choosing the Start > Internet Information Services (IIS) menu option from the Windows start menu. The Internet Information Services (IIS) Manager screen displays.
-
In the left navigation bar, choose the server name entry. Menu options display.

-
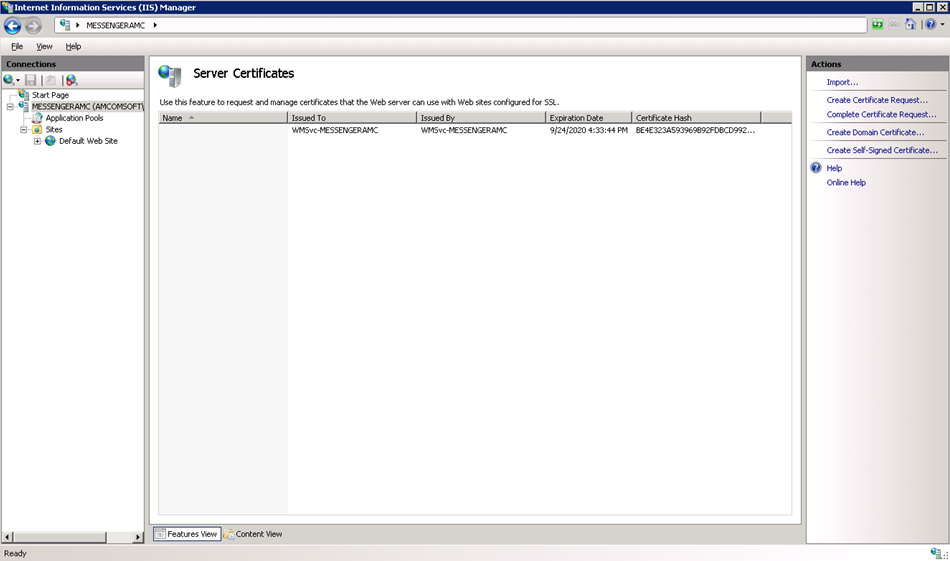
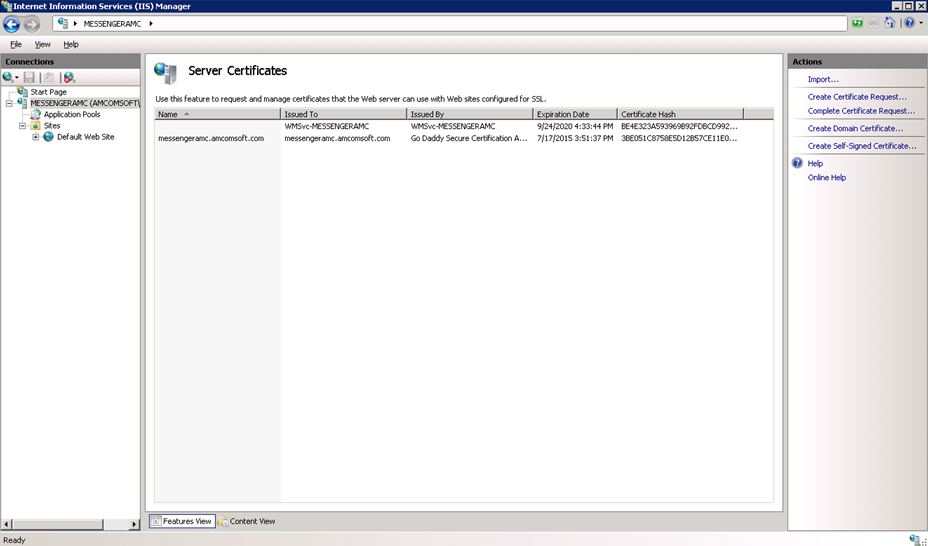
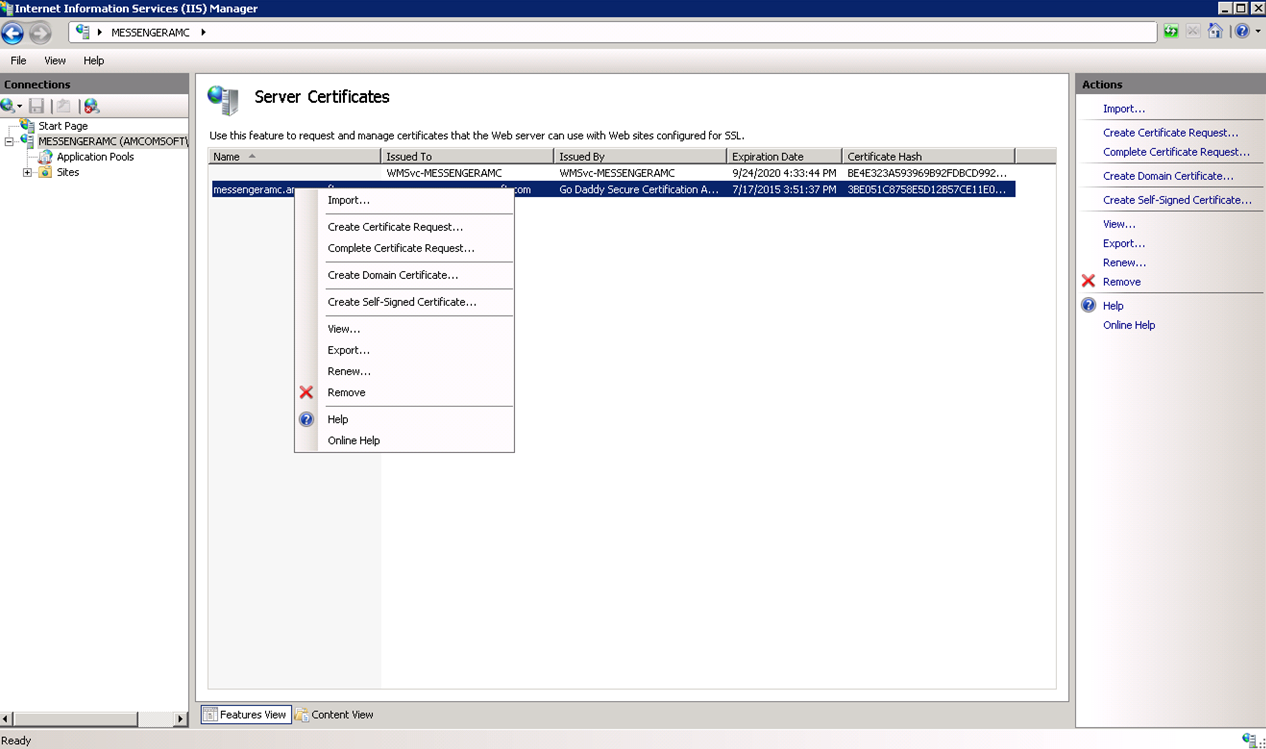
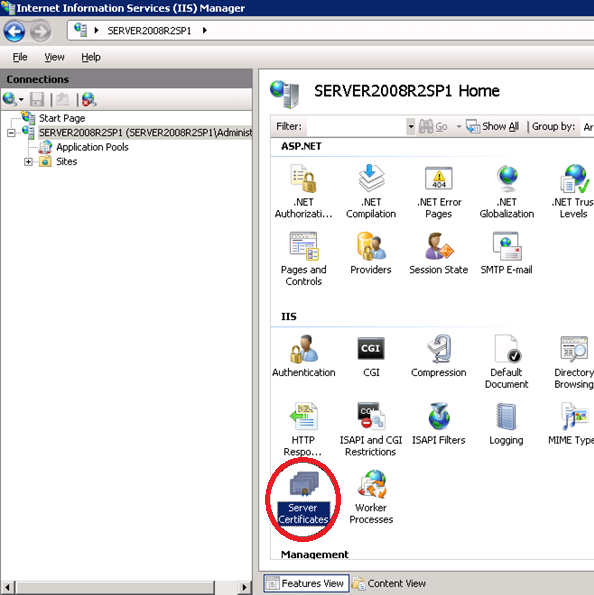
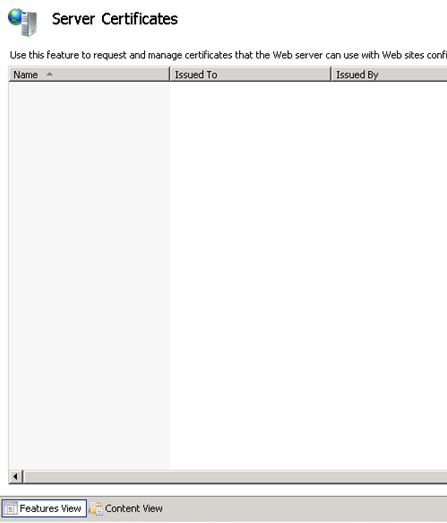
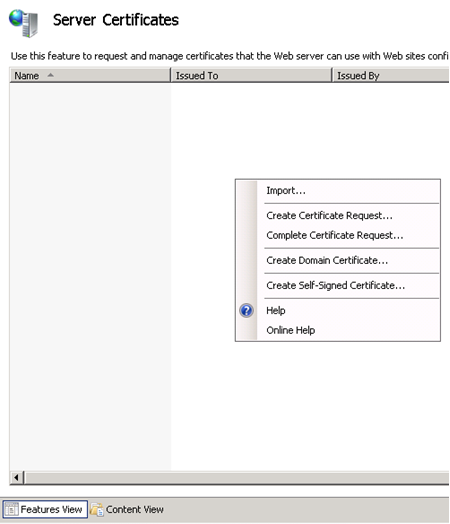
Choose the Server Certificates menu option. The Server Certificates screen displays.

-
Click the Create Certificate Request option from the Actions list on the right-hand side of the screen. The Distinguished Name Properties dialog displays.
-
In the Distinguished Name Properties dialog, enter any desired information.
-
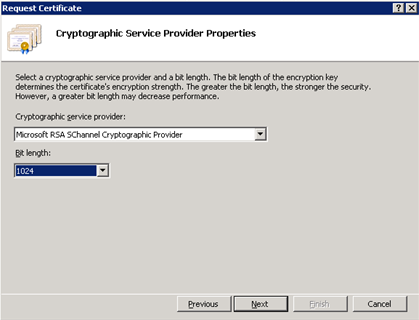
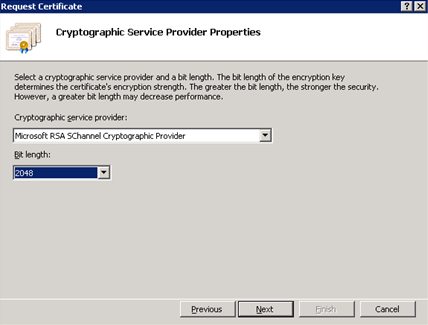
Click the Next button. The Cryptographic Service Provider Properties dialog displays.
-
From the Cryptographic service provider drop down menu, choose the Microsoft RSA SChannel Cryptographic Provider option.
-
From the Bit length drop down menu, choose the 2048 option.
-
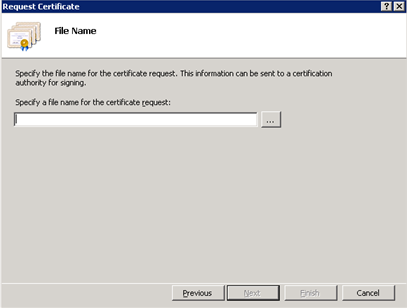
Click Next. The File Name dialog displays.
-
In the Specify a file name for the certificate request field, specify a location and file name where the Cryptographic Service Provider (“CSR”) file should be saved.

-
Click Finish. The Server Certificates screen displays.
-
Send the generated file (Example: c:\messengeramc_csr.txt) to your certificate vendor.
-
Obtain the certificate file (.p7b, .pfx, or .cer file). The certificate is received.
Installing the SSL Certificate on the Server
-
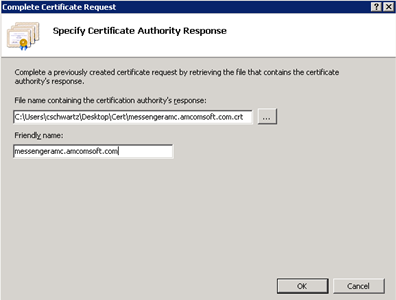
In the right-hand side of the Server Certificates screen, click the Complete Certificate Request link. The Specify Certificate Authority Response dialog displays.

-
Next to the File name containing the certification authority’s response field, click … . Files display.
-
Choose the desired file. The chosen file displays in the File name containing the certification authority’s response field.
NOTE: The File name containing the certification authority’s response field should include a .cer file. However, if you would like to use a .p7b or .crt file, change the file type to *.*.
-
In the Friendly name field, enter the server host name that is specified in the certificate SSL name. Note that the file name entered in this field must match the Common Name entry on the Distinguished Name Properties display.
-
Click OK. The Server Certificates screen with the newly installed certificate displays.
Adding the HTTPS Binding to IIS
The bindings are created automatically during Spok Mobile Implementation, so there is no procedure required.
Importing Certificates
-
If an environment is configured for high availability, export the .pfx file for each server.
-
Access IIS manager. The IIS manager home screen displays.
-
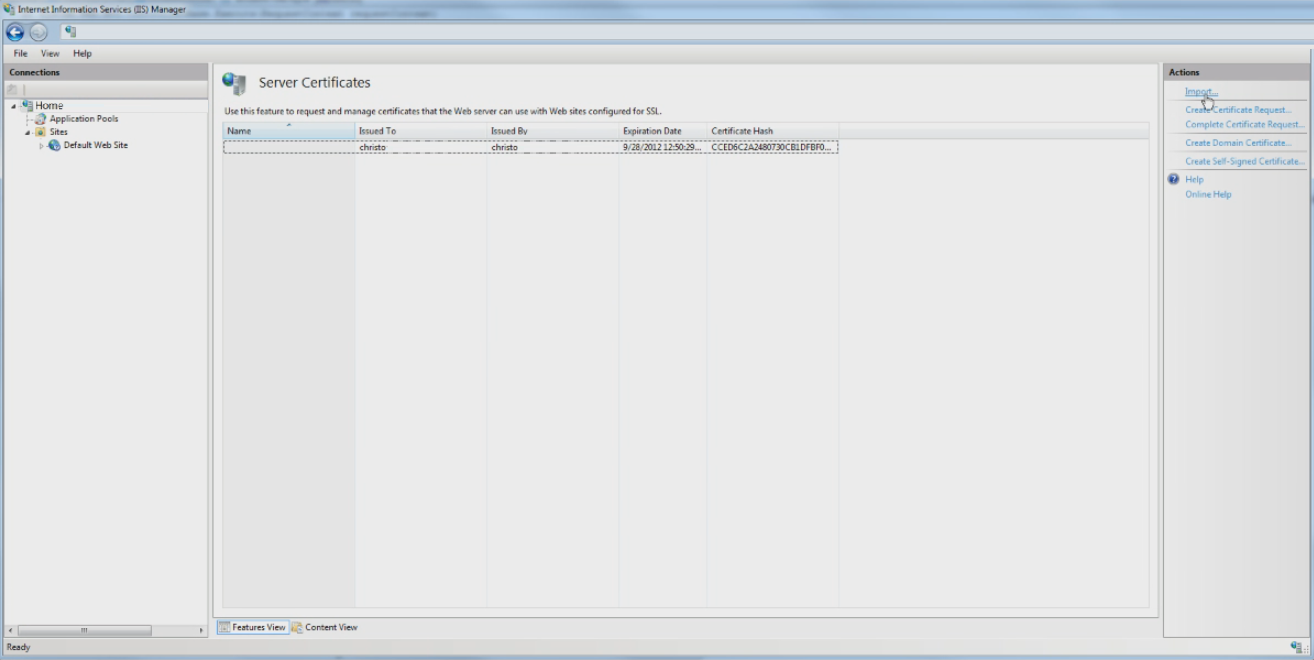
Click the Server Certificates option. The Server Certificates screen displays.
-
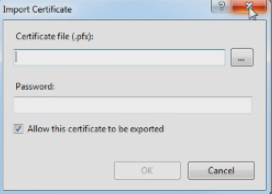
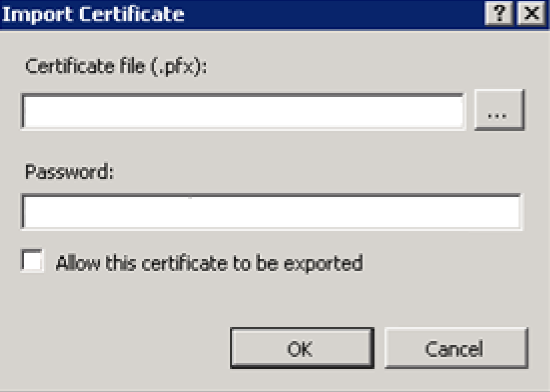
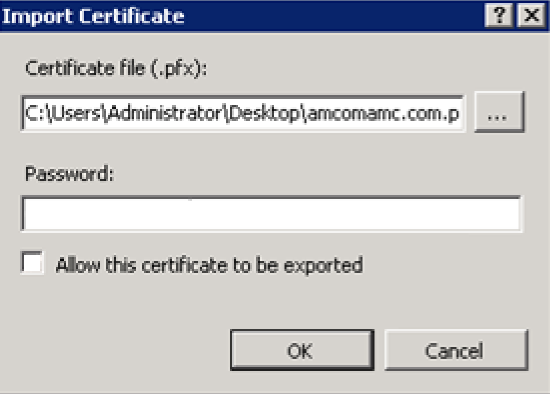
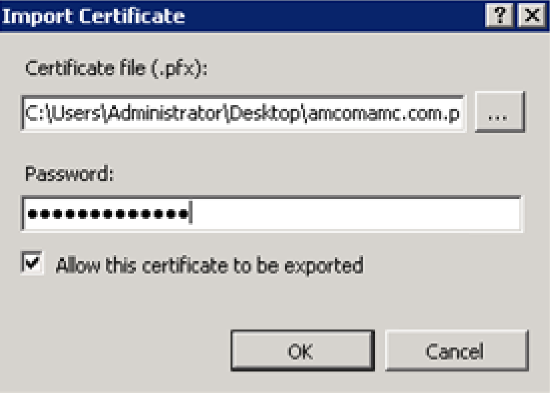
In the Server Certificates screen, click the Import link. The Import Certificate dialog displays.
-
In the Certificate file field, choose the desired certificate. The certificate displays in the field.
-
In the Password field, enter the password that is linked to the certificate entered in the Certificate file field.
-
Click OK. The certificate is imported.
Testing SSL Certificates
-
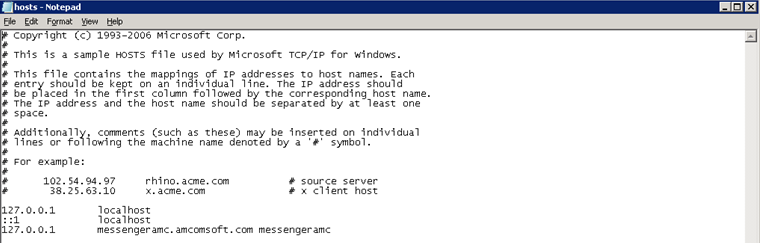
To test the installation of the certificate, add an entry to the C:\Windows\System32\Drivers\Etc\hosts file that points to the external DNS SSL name, specified as the Common Name during set up, to 127.0.0.1.
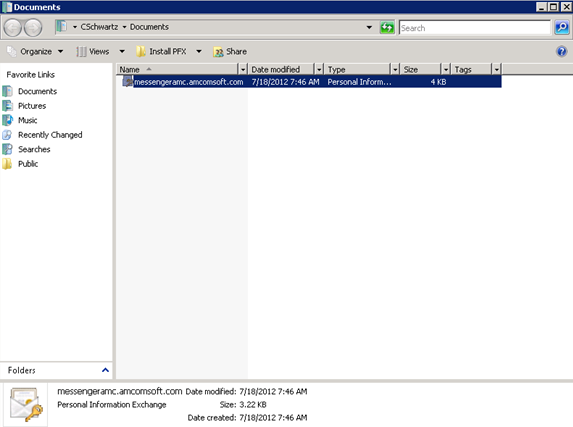
Example: 127.0.0.1 messengeramc.amcomsoft.com messengeramc
Testing the Host Name
-
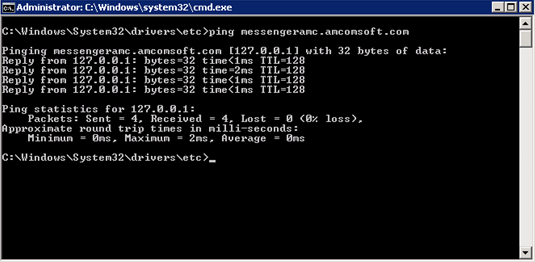
To test the host name, execute a ‘ping <hostname>’ from that machine. If the localhost is accessed, the test is successful.
"
-
Test the external resolution of the name.
-
Test the internal resolution of the name. This can be done by using “nslookup.”
Testing the Certificate
-
Access the installed certificate via https by entering the certificate’s Common Name from the previous steps in a browser session.
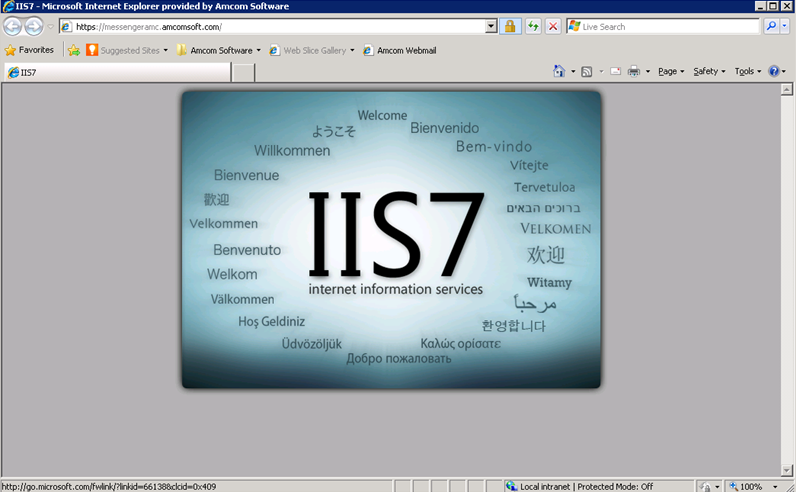
NOTE: If the navigation bar does not display red text, it means that the browser believes the certificate is valid. If the navigation bar displays red text, the browsers believes the certificate is invalid.
Backing Up the SSL Certificate
Backing up an SSL certificate allows the certificate to be re-imported if a system failure occurs that requires a disaster recovery.
-
Access the Internet Information Services (IIS) Manager screen.
-
Choose the server name in the left-hand side of the screen. Menu options display.
-
Click the Server Certificates icon. The Server Certificates screen displays.
-
Right click on the desired SSL name. Menu options display.
-
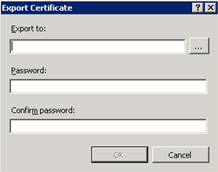
Choose the Export menu option. The Export Certificate dialog displays.
-
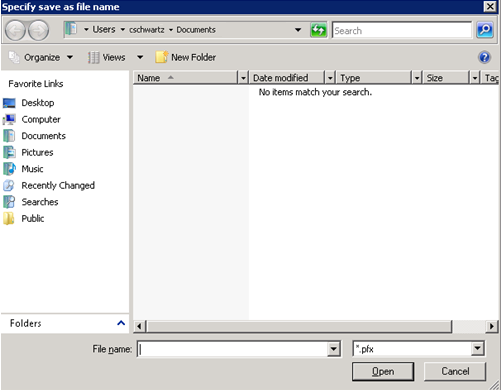
Click … to the right of the Export to field.
-
In the File name field, enter the file name to use.
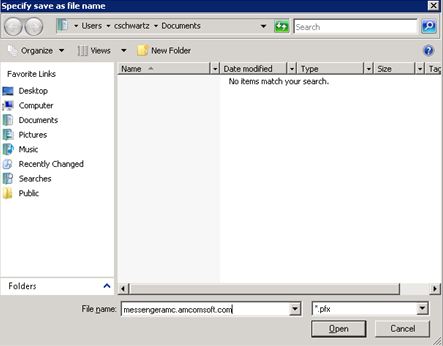
-
Click Open. You are returned to the Export Certificate dialog and the chosen file name displays in the Export to field.
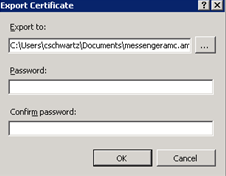
-
In the Password field, enter a password to associate with the certificate.
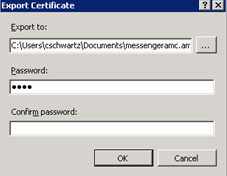
-
In the Confirm password field, re-enter the password that is entered in the Password field.
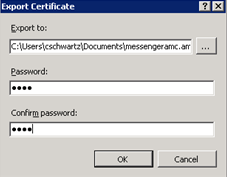
-
Click OK.
-
Exit the IIS Manager.
-
Navigate to the path where the certificate is stored.
-
Copy the certificate to send it to the Spok Project Manager that is involved with the implementation.
-
Send this certificate to the Spok Project Manager that is involved with the implementation. Doing so allows for a re-import if a system failure occurs that requires a disaster recovery.
-
Access the Spok Enterprise Administration page http://localhost/Amc/Admin. Note that detailed information on the Spok Mobile Administration page can be found in the Administrator’s Guide Spok Enterprise Administration.
-
Ensure that the Local message delivery option is chosen. For detailed information on configuring the message delivery type, please refer to the Implementing Guide Spok Mobile Services 4.4 document.
-
Enable the HTTPS option. For detailed information on how to enable the HTTPS option, refer to the Implementing Spok Mobile Services 4.4 document.
-
Ensure the information in the Message Download URL matches the SSL name of the certificate you registered. For detailed information on how to configure the Message Download URL, refer to the Implementing Spok Mobile Services 4.4 document. Note that wildcard certificates can be used if they match a server on the domain.
-
Click Save.
-
Click Apply. The application is re-started and the HTTPS functionality can be utilized.
SSL Certificates (Wildcard)
When an existing wildcard certificate is to be used with Spok Mobile, the wildcard certificate must be added to the Spok Mobile server, installed on and bound to Spok Mobile, and then tested.
Adding an SSL Certificate to the Server
The SSL certificate must be added to the server. For detailed information on how to do this, please refer to the Importing Certificates.
Installing an SSL Certificate into IIS
-
Open the IIS Manager. The Internet Information Services (IIS) Manager screen displays.
-
Choose the desired server. The server name becomes highlighted.
-
Choose the Server Certificates menu option. The Server Certificates screen displays.
-
Right click on the working area in the Server Certificates screen. Menu options display.
-
Choose the Import menu option. The Import Certificate dialog displays.
-
In the Certificate file (.pfx) field, enter the .pfx license’s file location.
-
In the Password field, enter the password for the .pfx file that is entered into the Certificate file (.pfx) field.

-
Choose the Allow this certificate to be exported option.
-
Click OK.
